
Introduction to Red Velvet Cookie Bars
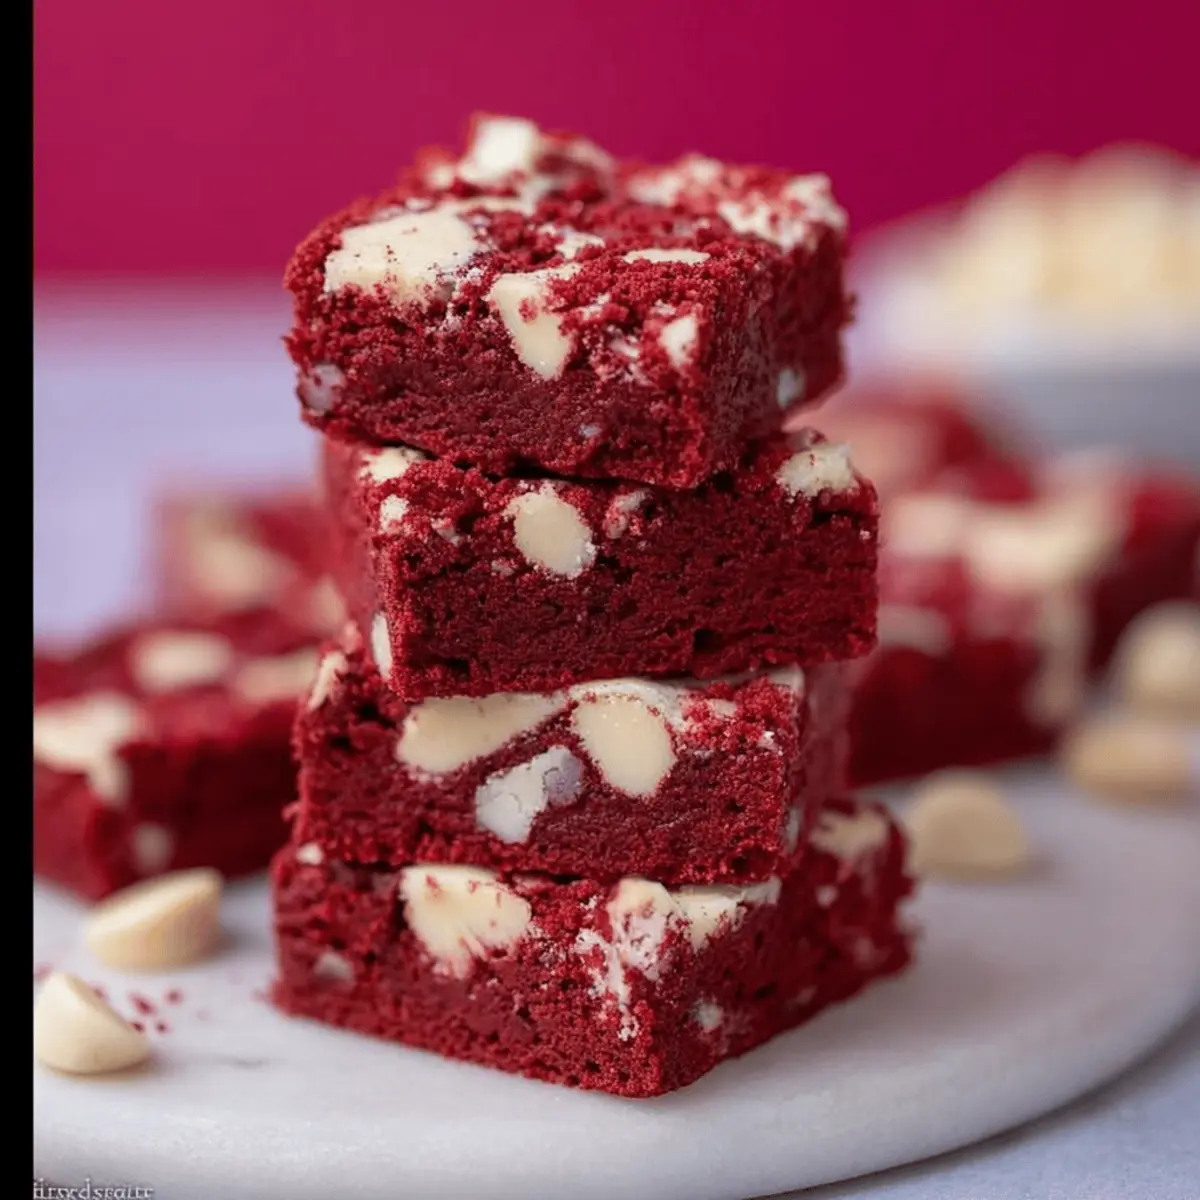
When you think about dessert, your mind might wander to cakes, pies, or even ice cream. But have you ever considered the delightful combination of these treats that can change your dessert game forever? Enter red velvet cookie bars! These sweet, chewy bars embody the classic flavors of red velvet cake while providing the perfect convenience of a handheld dessert. They’re not just cookies; they’re a celebration of flavors and textures that you can easily share (or keep all to yourself).
Why Red Velvet Cookie Bars Are a Game Changer for Dessert Lovers
Imagine a dessert that captures the luxurious richness of red velvet cake, but without the fuss of layers and frosting. Red velvet cookie bars deliver that velvety texture and signature cocoa flavor, all while being straightforward to prepare.
Here are a few reasons they stand out:
-
Ease of Preparation: Unlike traditional red velvet cakes, which require precise layering and frosting skills, cookie bars can be made in one pan. They’re easy to mix and even simpler to slice—perfect for those of us with busy schedules.
-
Versatile Serving Options: Whether you’re hosting a casual weekend get-together or need a sweet treat for the office, these cookie bars fit right in. They can be enjoyed warm, cold, or even topped with a scoop of ice cream for a delightful dessert experience.
-
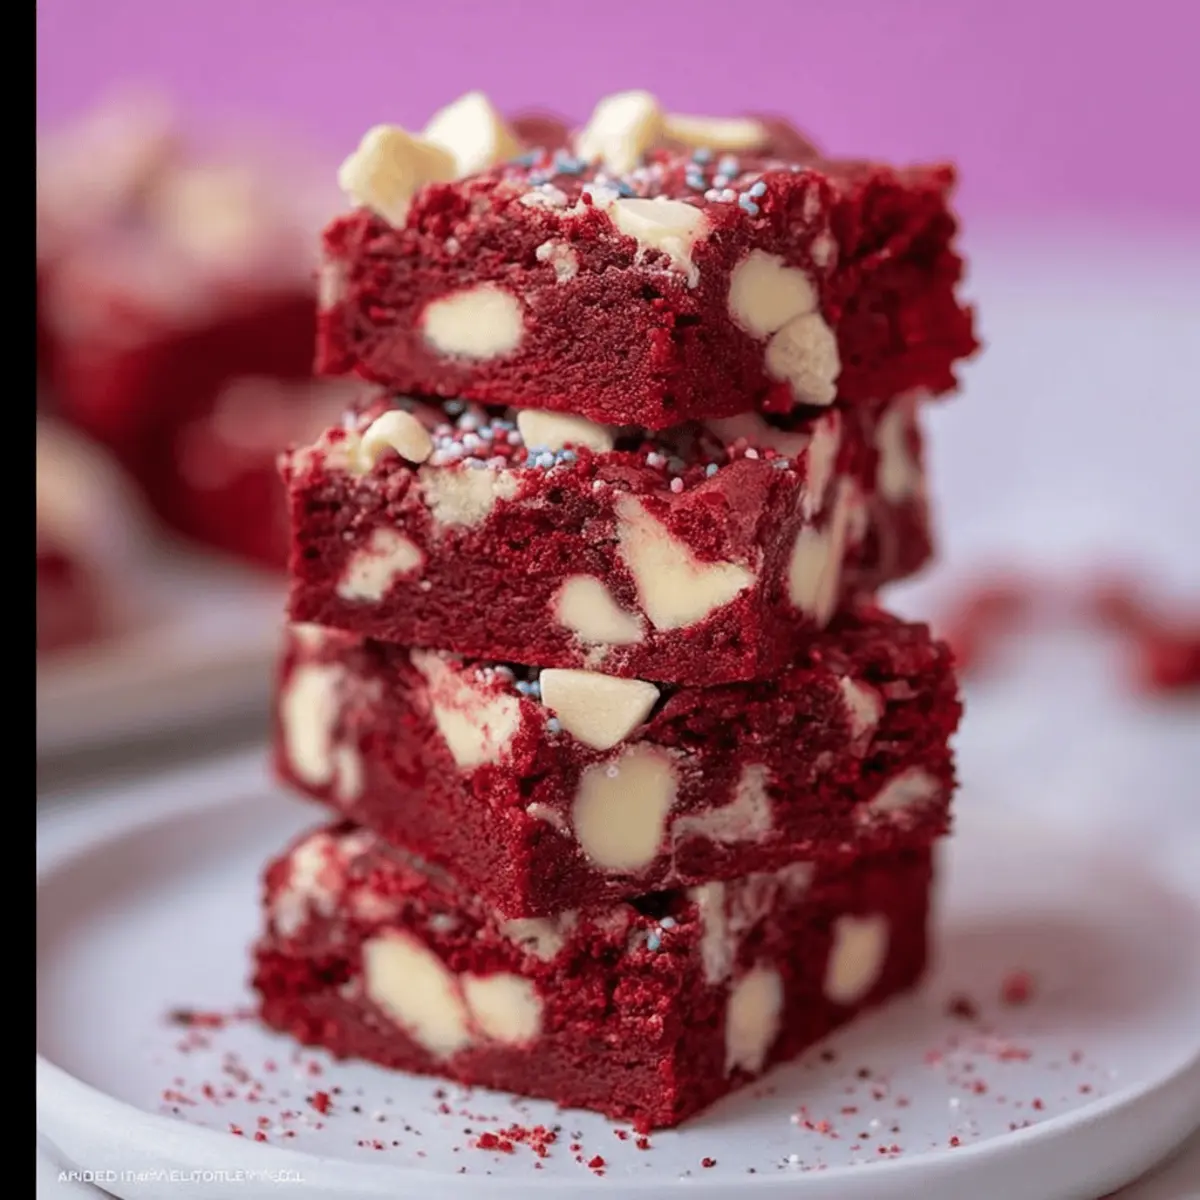
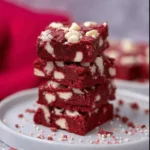
Visual Appeal: The rich, red color of these bars isn’t just a treat for the taste buds—it’s also visually striking. A batch of red velvet cookie bars can elevate any gathering with their vibrant hue and appealing look. Plus, they make for great Instagram fodder!
Incorporating popular ingredients like buttermilk and cream cheese frosting further enhances their flavor profile. Did you know that according to Baking Science, the acidity in buttermilk enhances the tenderness of baked goods? This scientific nuance makes your cookie bars soft and moist—a fantastic texture that everyone loves!
So, if you’re ready to embark on a delicious journey that combines the classic charm of red velvet cake in a new form, you’ll want to keep reading. This red velvet cookie bars recipe is a must-try for every dessert aficionado looking to impress or indulge.
Ingredients for Red Velvet Cookie Bars
Creating the perfect batch of red velvet cookie bars is all about using the right ingredients. Here’s what you’ll need to whip up these delightfully decadent treats:
Essential Ingredients
- 2 ½ cups all-purpose flour: This is the base of your cookie bars, providing that soft and chewy texture. Make sure to sift it for a lighter result.
- 1 tablespoon cocoa powder: Just a touch adds depth to the flavor while keeping that signature red velvet taste.
- 1 teaspoon baking soda: Essential for that perfect rise, resulting in cookie bars that aren’t too dense.
- ½ teaspoon salt: Don’t skip this! It enhances all the other flavors beautifully.
- 1 cup unsalted butter: Room temperature butter is best for creaming—it ensures everything blends smoothly.
- 1 ½ cups sugar: Sweetness is key; this balances the slightly tart buttermilk (which you’ll also be using).
- 2 large eggs: They add richness and help bind the ingredients.
- 1 tablespoon red food coloring: For that unmistakable red hue! Try to use gel coloring for a more vibrant result.
- 1 teaspoon vanilla extract: A splash of this adds warmth and complements the other flavors.
Optional Add-Ins
Consider enhancing your red velvet cookie bars with chocolate chips or nuts for extra texture. If you’re curious about chocolate chip varieties, check out Serious Eats for some inspiration.
Now that you’ve got your ingredients ready, it’s time to bring them together and create something truly delicious! Enjoy the process, and don’t hesitate to experiment a bit—you might just find your secret twist.
Preparing Red Velvet Cookie Bars
Creating delightful red velvet cookie bars in your kitchen is not only a fun process but also a rewarding one. These soft, chewy treats are perfect for gatherings, or simply to enjoy while snuggled up on your couch with a good movie. Let’s dive in and get you started on making these delicious bars!
Gather Your Ingredients
Before embarking on this baking journey, it’s crucial to assemble all your ingredients. Here’s everything you’ll need:
- 2 ½ cups all-purpose flour
- 1 teaspoon baking powder
- ½ teaspoon baking soda
- 1 teaspoon salt
- 1 cup unsalted butter, softened
- 1 ½ cups granulated sugar
- 2 large eggs
- 1 tablespoon vanilla extract
- 2 tablespoons cocoa powder
- Red food coloring (about 2 tablespoons, but adjust to your preference)
- 1 cup semi-sweet chocolate chips
Before you begin, make sure you’ve preheated your oven to 350°F (180°C), so it’s hot and ready for your cookie bars when you’re done mixing.
Cream the Butter and Sugar
The first step in your quest for the perfect red velvet cookie bars is creaming together the softened butter and sugar. This process is vital, as it helps incorporate air into the mixture, resulting in a light and fluffy texture.
In a large mixing bowl, combine the butter and sugar. Using an electric mixer on medium speed, beat the mixture until it’s light and fluffy—around 2 to 3 minutes should suffice. The transformation is quite satisfying, and it’s the perfect time to inhale that wonderful aroma.
Add in Eggs and Vanilla
Next up, it’s time to add the eggs and vanilla extract. Crack in the eggs one at a time, making sure to mix well after each addition. This step enriches your batter and enhances the flavor profile. Don’t forget to add in that lovely vanilla extract, too! It’s an essential ingredient that ties everything together beautifully.
Mix in the Dry Ingredients
In a separate bowl, whisk together your dry ingredients: flour, baking powder, baking soda, salt, and cocoa powder. Be thorough; a well-combined dry mix ensures uniform flavor in every bite of your red velvet cookie bars. Gradually incorporate these dry ingredients into the butter mixture until just combined. Avoid overmixing, as it can lead to dense cookie bars instead of that desired soft texture.
Incorporate the Red Food Coloring
Here is where the magic happens! Add in your red food coloring, and mix until you achieve the shade of red you’re looking for. Depending on the brand, you might want to tweak the amount; a vibrant hue can take your cookie bars to the next level visually.
Want to learn more about different types of food coloring? Check out this helpful resource for some insights.
Fold in Chocolate Chips
Now, it’s time for the pièce de résistance: the chocolate chips! Gently fold in the semi-sweet chocolate chips until they’re evenly distributed. These sweet little morsels make each bite of your red velvet cookie bars even more indulgent.
Spread the Batter in the Pan
Prepare a 9×13-inch baking pan by lining it with parchment paper or greasing it. Then, pour your vibrant red batter into the pan, spreading it evenly. This step is crucial to ensure that your bars bake uniformly, resulting in moist and gooey cookie bars.
Bake Your Cookie Bars
Finally, it’s time for the oven! Place your pan in the preheated oven and bake for about 25–30 minutes. Keep an eye on them; the bars are ready when you can insert a toothpick into the center and it comes out with a few moist crumbs attached. Resist the urge to overbake, as that can lead to a dry texture.
Once baked, let your red velvet cookie bars cool in the pan for about 10 minutes before transferring them to a wire rack to cool completely. Trust us, the wait will be worth it when you take that first delicious bite!
Enjoy the journey, and happy baking!
Variations on Red Velvet Cookie Bars
When it comes to red velvet cookie bars, the possibilities are as rich and delightful as their flavor. Whether you’re looking to mix things up or accommodate dietary preferences, here are some variations worth trying.
Cream Cheese Frosting Option
You can’t mention red velvet without considering the iconic cream cheese frosting! Adding a generous swirl of this tangy, smooth topping elevates your cookie bars to new heights. Simply beat together cream cheese, butter, powdered sugar, and a splash of vanilla extract for a frosting that complements the soft, chewy texture of your bars perfectly. For an extra touch, sprinkle some chocolate shavings or crushed walnuts on top!
Gluten-Free Red Velvet Cookie Bars
Want to enjoy these delicious red velvet cookie bars without gluten? No problem! Substitute regular flour with a gluten-free blend. Make sure to choose one that includes xanthan gum, as it helps replicate the texture of traditional baking flour. Many people are surprised at how easily they can adapt their favorite recipes to be gluten-free, and you can even find gluten-free chocolate chips to enhance that rich flavor.
Red Velvet Cookie Bars with Nuts
If you crave a little crunch in your bars, consider adding chopped pecans or walnuts to the batter. Not only do they provide a delightful texture contrast, but they also introduce a nutty flavor that perfectly complements the velvety richness. You can toast the nuts lightly before mixing them in for an added depth of flavor.
Whichever variation you choose, these red velvet cookie bars are sure to be a hit! Don’t forget to share your favorites on social media or check out Taste of Home for more creative red velvet dessert ideas!
Baking Tips and Notes for Red Velvet Cookie Bars
Creating delicious red velvet cookie bars in your kitchen is not just a recipe, it’s an experience! Here are some friendly tips to ensure your baking adventure goes smoothly.
Prep Like a Pro
-
Ingredients: Always use fresh ingredients, particularly your baking powder, as expired leavening agents can lead to flat cookie bars. Check out this guideline on ingredient freshness for great advice.
-
Room Temperature: Allow your butter and eggs to sit out for about 30 minutes before you start. This helps with even mixing and a better texture.
Color Matters
The rich, red color of red velvet cookie bars should be vibrant. Don’t skimp on the food coloring! However, natural alternatives are available if you prefer a healthier option. Just remember: the darker the cocoa powder, the richer the flavor.
Bake Smart
-
Timing: Keep an eye on your cookie bars while baking; overbaking can dry them out. Aim for a slight jiggle in the center when you take them out.
-
Storage Tips: Once completely cool, store your bars in an airtight container to maintain their softness. They can last for several days at room temperature, or longer in the fridge!
Happy baking!
Serving Suggestions for Red Velvet Cookie Bars
When it comes to serving red velvet cookie bars, the key is to elevate the experience. Here are some delightful ideas to consider:
-
Classic Pairing: Serve your bars warm with a scoop of vanilla ice cream. The contrast of the cool ice cream with the soft, warm cookie bars creates a heavenly treat.
-
Festive Presentation: Top them with a light drizzle of cream cheese frosting for a more festive touch, making these bars perfect for gatherings or special occasions.
-
Beverage Pairings: Complement your cookie bars with a cup of freshly brewed coffee or a glass of cold milk. Both bring out the rich flavors of chocolate inherent in the red velvet.
-
Creative Toppings: Consider adding chopped nuts or white chocolate chips on top before baking for an extra crunch and sweetness. If you’re feeling adventurous, a sprinkle of coarse sea salt can add an exciting flavor contrast.
These suggestions not only enhance the enjoyment of red velvet cookie bars but also make them a delightful centerpiece for any dessert table. Want more tips? Check out Food Network for expert advice on dessert pairings!
Time Breakdown for Red Velvet Cookie Bars
When it comes to whipping up scrumptious red velvet cookie bars, understanding the time commitment is crucial for planning your baking session. Below is a snapshot of how to make these delightful treats:
Preparation Time
Getting everything ready usually takes about 15 minutes. This includes gathering your ingredients and mixing them together. Pro tip: Pre-measuring your ingredients can make this step even quicker!
Baking Time
The magical transformation occurs in your oven, where these bars bake for around 25–30 minutes. Keep an eye on them to achieve that perfect chewy texture.
Total Time
In just under an hour, you can enjoy freshly baked red velvet cookie bars. With a little patience for cooling, you’ll have delicious goodies ready to share.
For more insights, be sure to check out The Kitchn for additional tips on baking times and best practices!
Nutritional Facts for Red Velvet Cookie Bars
When whipping up a batch of red velvet cookie bars, understanding their nutritional facts can help you enjoy them mindfully. Here’s a quick overview of what you’re biting into:
Calories
Each serving of these luscious bars typically has around 200-250 calories. Depending on your portion size, this makes them a delightful treat without completely derailing your daily intake.
Fat Content
Expect about 10-12 grams of fat per serving, with a healthy balance of saturated and unsaturated fats. Using ingredients like butter and cream cheese adds richness but be sure to enjoy them in moderation.
Sugar Levels
The sweetness factor is significant, with approximately 15-18 grams of sugar per serving. If you’re looking to cut back, consider using natural sweeteners. For more insights on sugar consumption, check out the American Heart Association.
So, while those red velvet cookie bars are certainly a treat, it’s always good to keep their nutrition in mind when planning your dessert indulgence!
FAQs about Red Velvet Cookie Bars
When it comes to baking, questions are bound to arise, especially about something as delicious as red velvet cookie bars. Whether you’re a baking novice or a seasoned pro, we’ve got you covered with some frequently asked questions.
Can I freeze red velvet cookie bars?
Absolutely! Red velvet cookie bars freeze beautifully. Just make sure to allow them to cool completely before wrapping them tightly in plastic wrap or aluminum foil. For extra protection, you can also place them in an airtight container. When you’re ready to indulge, simply thaw them at room temperature or pop them in the microwave for a few seconds!
How should I store leftover cookie bars?
To keep your red velvet cookie bars fresh and tasty, store them in an airtight container at room temperature. If you live in a warmer climate, it’s best to refrigerate them to prevent any unnecessary melting. If you want to maintain that luscious texture, try to consume them within a week.
What’s the difference between red velvet cake and red velvet cookies?
While both share that signature red velvet flavor, there are distinct differences. Red velvet cake is typically lighter and fluffier, often layered with cream cheese frosting. In contrast, red velvet cookie bars have a denser, chewy texture that makes them easier to cut and serve. The unique flavor comes from a combination of cocoa powder and buttermilk, which adds that classic tanginess. Curious about the history of red velvet? Check out this fantastic resource from the Food Network.
If you have more questions, don’t hesitate to drop them in the comments! Happy baking!
Conclusion on Red Velvet Cookie Bars
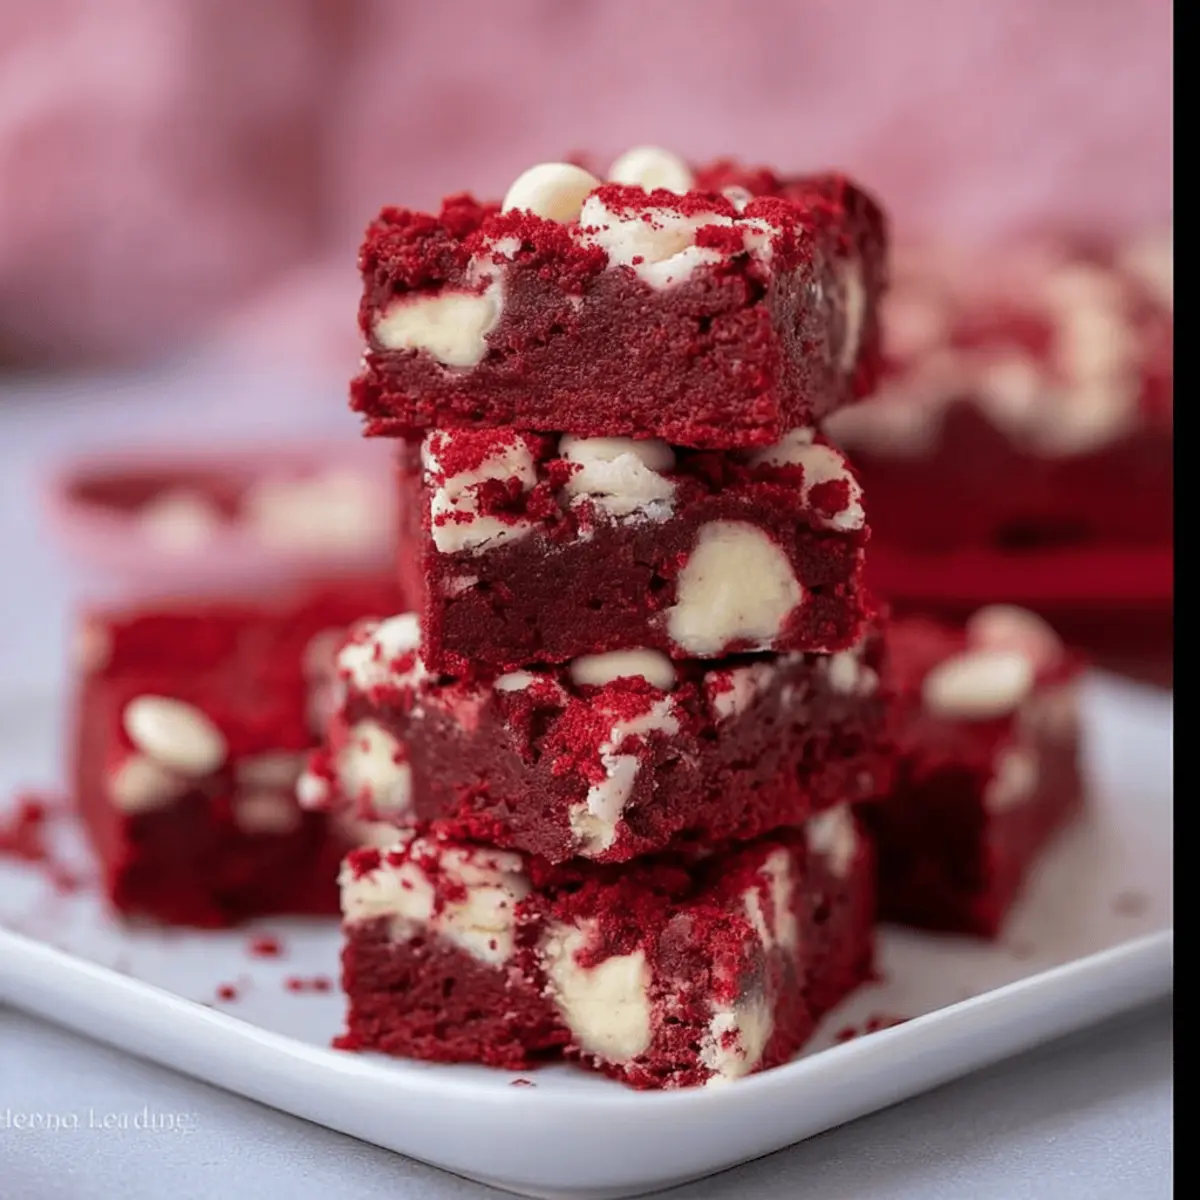
In conclusion, red velvet cookie bars are a delightful twist on the classic red velvet cake, perfect for any occasion. Their rich flavor and soft texture make them a crowd-pleaser, whether you’re hosting a gathering or simply indulging at home.
Why You’ll Love Them
- Showstopper Appeal: The striking red color and creamy frosting are sure to impress your guests.
- Easy to Make: With simple ingredients and straightforward steps, they’re beginner-friendly.
- Personal Touch: Feel free to customize with nuts or white chocolate chips for an added flair.
Treat yourself to these delectable bars, and don’t forget to share your creations! For additional baking tips and variations, check out resources like BBC Good Food and Serious Eats for inspiration. Happy baking!
PrintRed Velvet Cookie Bars: Indulgent Treats You Can’t Resist
Indulge in these rich and decadent red velvet cookie bars, perfect for any occasion!
- Prep Time: 15 minutes
- Cook Time: 30 minutes
- Total Time: 45 minutes
- Yield: 16 bars 1x
- Category: Dessert
- Method: Baking
- Cuisine: American
- Diet: Vegetarian
Ingredients
- 2 cups all-purpose flour
- 1 cup sugar
- 1/2 cup brown sugar
- 1 cup unsalted butter, softened
- 2 large eggs
- 1 teaspoon vanilla extract
- 1 tablespoon cocoa powder
- 1 teaspoon red food coloring
- 1/2 teaspoon baking powder
- 1/4 teaspoon salt
- 1 cup white chocolate chips
Instructions
- Preheat your oven to 350°F (175°C).
- In a large bowl, cream together the butter, sugar, and brown sugar until smooth.
- Add the eggs, vanilla extract, cocoa powder, and red food coloring, mixing until well combined.
- In another bowl, whisk together the flour, baking powder, and salt.
- Gradually add the dry ingredients to the wet mixture, stirring until just combined.
- Fold in the white chocolate chips.
- Spread the batter evenly in a greased baking pan.
- Bake for 25-30 minutes or until a toothpick comes out clean.
- Let cool before cutting into squares.
Notes
- For extra decadence, serve with cream cheese frosting.
- These bars can be stored in an airtight container for up to one week.
Nutrition
- Serving Size: 1 bar
- Calories: 250
- Sugar: 20g
- Sodium: 150mg
- Fat: 12g
- Saturated Fat: 7g
- Unsaturated Fat: 3g
- Trans Fat: 0g
- Carbohydrates: 35g
- Fiber: 1g
- Protein: 3g
- Cholesterol: 40mg
Keywords: Red Velvet Cookie Bars, dessert, cookies