Introduction to Old-Fashioned Apple Crisp
Why Old-Fashioned Apple Crisp is a Timeless Dessert
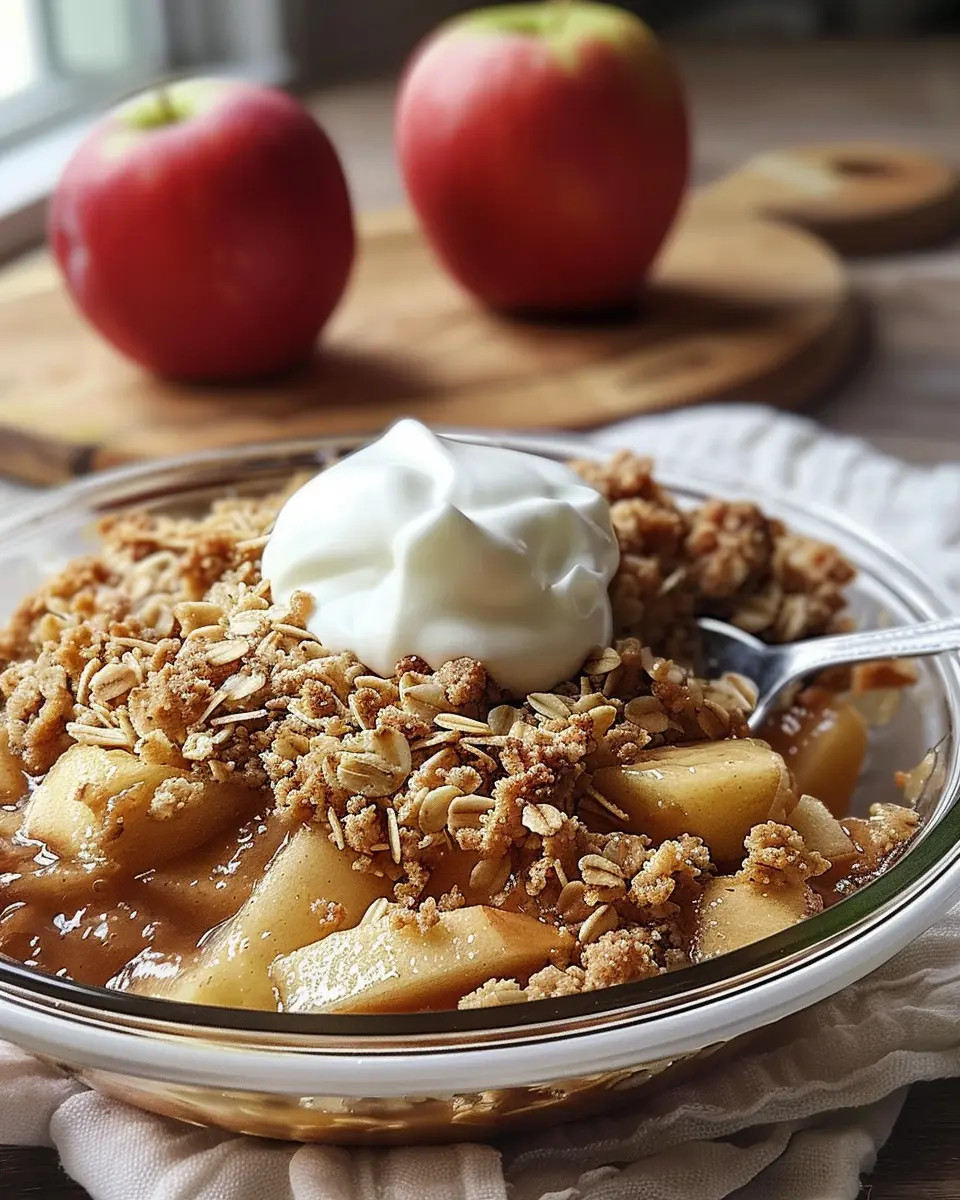
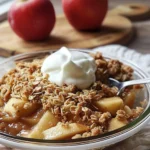
If you’ve ever taken a bite of old-fashioned apple crisp, you know it’s like a warm hug in dessert form. This beloved treat, featuring tender baked apples topped with a crunchy oatmeal and brown sugar crust, has been a staple in family kitchens for generations. But what makes it so enduringly popular?
First and foremost, the comfort of nostalgia plays a key role. Many of us have fond memories of baking with our grandparents or savoring the delicious aroma wafting from the oven as we waited impatiently for our dessert to cool. Sharing recipes with family not only tightens bonds but also passes down traditions and flavors that shape our culinary experiences. According to Food52, the connection between food and familial love is undeniable.
The beauty of an old-fashioned apple crisp lies in its simplicity. Made with just a handful of core ingredients—apples, oats, butter, and sugar—it’s easy to whip up on a busy weeknight or for a cozy weekend dinner party. With so many varieties of apples available, you can customize the flavor and tartness to your preference. Feeling adventurous? Experiment with unusual apple varieties or add spices like cinnamon or nutmeg to elevate the dish.
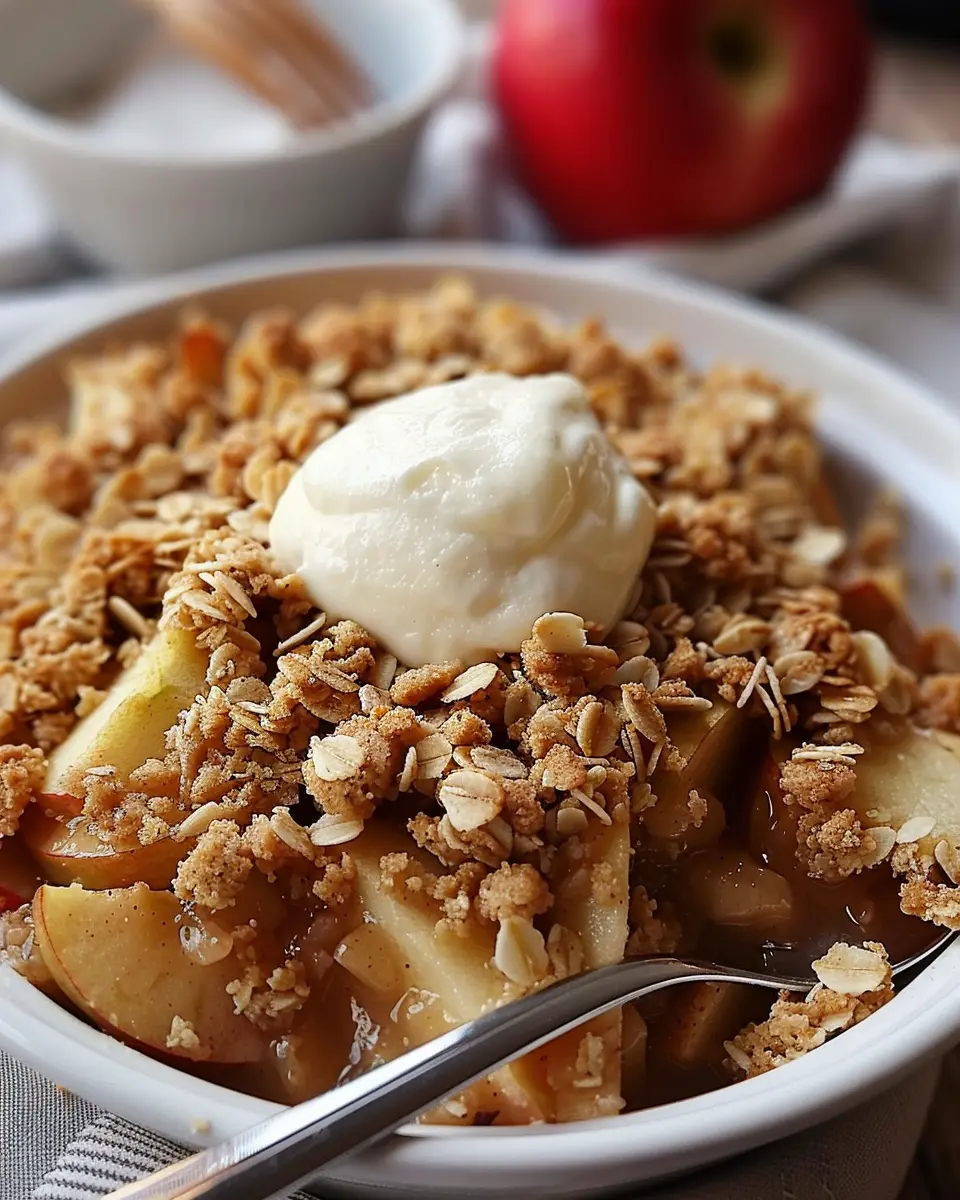
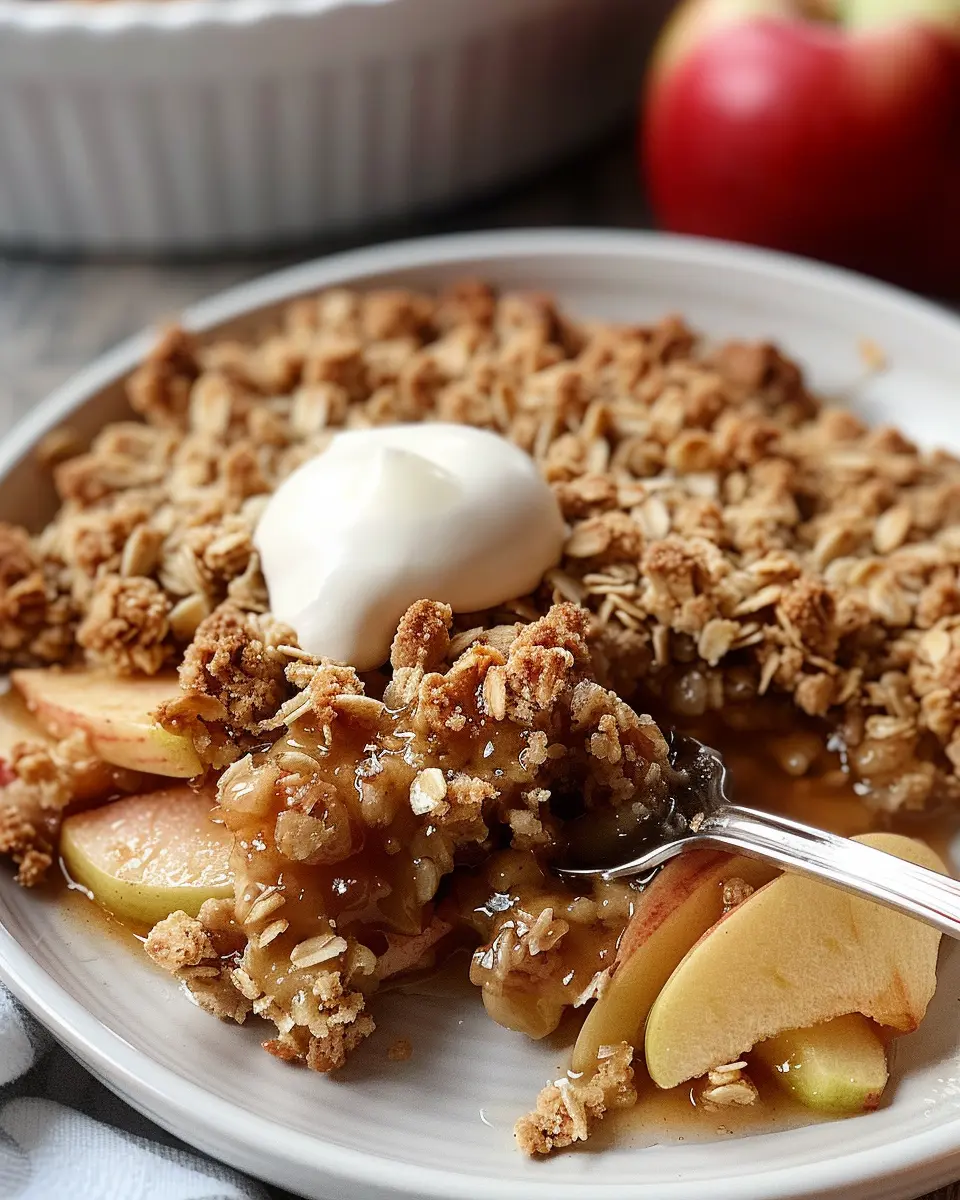
Another reason for the apple crisp’s popularity is its versatility. You can serve it plain, with a scoop of vanilla ice cream, or even with a dollop of whipped cream. The warm, gooey filling contrasting with the crisp topping creates a perfect harmony of textures in every bite.
Plus, in a world where culinary trends come and go at lightning speed, the old-fashioned apple crisp stands the test of time. According to a recent survey by the American Pie Council, apple desserts consistently rank among the most popular in the United States. It just goes to show that the classics never truly fade away.
So, whether you’re new to baking or a seasoned pro, joining the ranks of those who cherish this timeless dessert is easy. Check out our full recipe and embark on your journey to make that perfect old-fashioned apple crisp that will impress your friends and family alike!
Ingredients for Old-Fashioned Apple Crisp
Essential Ingredients for a Fabulous Crisp
Nothing screams comfort quite like a warm bowl of old-fashioned apple crisp. Whether it’s a Sunday family gathering or a cozy night in, this classic dessert is sure to please. Here’s what you’ll need to whip up this simple yet delightful treat:
- Apples: Go for tart varieties like Granny Smith or Honeycrisp. About six cups will do—peeled and sliced.
- Sugar: A touch of granulated sugar (around ½ cup) enhances the apples’ natural sweetness. You can also add brown sugar for depth!
- Cinnamon: This warm spice is essential—just a teaspoon will boost those apple flavors.
- Oats: Rolled oats (about 1 cup) add that crucial chewy texture.
- Flour: All-purpose flour (also 1 cup) will bind the topping together.
- Butter: For richness, use cold, unsalted butter (if you prefer, coconut oil works too).
- Nuts: Walnuts or pecans, roughly chopped, give an extra crunch.
With these ingredients, you’re on your way to creating an old-fashioned apple crisp that’s sure to wow everyone! If you’re curious about innovative ingredient swaps or tips on perfecting your crisp, check out this expert guide.
Preparing Old-Fashioned Apple Crisp
Nothing warms the heart quite like the smell of old-fashioned apple crisp baking in the oven. This comforting dessert is perfect for any occasion, whether you’re hosting a gathering or simply treating yourself to something sweet. Here’s how to create your very own apple crisp, step by step.
Preheat the oven and prepare the dish
Start your culinary journey by preheating your oven to 350°F (175°C). This is key because a well-heated oven will ensure your apple crisp bakes evenly, giving you that delightful, golden crust. While that’s heating up, grab an 8×8-inch baking dish or a similar-sized option. Lightly butter the dish to prevent sticking and make cleanup easier.
Prepare the apple filling
Now onto the star of the show—the apples! For this dish, you want to use a mix of tart and sweet apples for the best flavor. I recommend combining Granny Smith apples for their tartness with some sweet Fuji or Honeycrisp varieties. Aim for about 6 to 7 medium-sized apples, peeled, cored, and sliced into thin wedges.
Once you’ve prepped the apples, toss them in a large bowl with:
- 1/2 cup granulated sugar
- 1 tablespoon lemon juice (to brighten the flavor)
- 1 teaspoon ground cinnamon
- 1/4 teaspoon ground nutmeg (for that extra warmth)
Let this mixture sit for about 10 minutes. This not only enhances the flavors but also allows the apples to release some moisture, ensuring a juicy filling.
Make the crumb topping
Now, let’s elevate our old-fashioned apple crisp with a crunchy, flavorful topping! In another bowl, combine the following ingredients:
- 1 cup rolled oats
- 1 cup all-purpose flour
- 1/2 cup packed brown sugar
- 1/2 teaspoon salt
- 1/2 teaspoon ground cinnamon
- 1/2 cup unsalted butter (melted)
Mix these ingredients together until the mixture resembles coarse crumbs. This will create that delightful texture we all love about apple crisp. If you’re feeling adventurous, consider adding chopped nuts like walnuts or pecans for some extra crunch and flavor.
Assemble the dessert
Once both components are ready, it’s time to assemble your masterpiece! Start by spreading the apple mixture evenly in your prepared baking dish. Then, sprinkle the crumb topping generously over the apples. Make sure to cover all the fruit for consistent cooking.
You might even want to press it down slightly to ensure each spoonful has a perfect mix of apple and crisp. This is your chance to personalize your dessert; feel free to drop in a handful of raisins or cranberries for an added dimension.
Bake to perfection
Pop your assembled apple crisp into the preheated oven and let it bake for about 40 to 45 minutes. You’ll know it’s done when the top is golden brown and the apple filling is bubbling. If you notice the topping browning too quickly, you can cover it loosely with aluminum foil.
Once it’s out of the oven, let it cool for about 10 minutes before serving. This brief resting period allows the juices to settle, preventing a soupy mess when you serve. For the full experience, pair your old-fashioned apple crisp with a scoop of vanilla ice cream or a dollop of whipped cream!
In a world filled with modern desserts, there’s something irresistibly charming about an old-fashioned apple crisp. With these steps, you’re sure to impress your friends and make your kitchen smell heavenly. Ready to dig in? Grab your ingredients and start baking! For more delicious recipes, check out Taste of Home or Food Network for inspiration!

Variations on Old-Fashioned Apple Crisp
Apple Crisp with Nuts for Added Crunch
If you’re looking to elevate your old-fashioned apple crisp, consider adding nuts for an extra layer of flavor and texture. Walnuts, pecans, or almonds can introduce a delightful crunch that complements the softness of the baked apples beautifully. Simply chop your choice of nuts and mix them into the topping along with the oats and brown sugar. A sprinkle of cinnamon will enhance their nutty goodness, creating a deliciously comforting dessert. You can also toast the nuts beforehand to bring out their rich flavor—this adds an irresistible aroma to your kitchen that will have everyone wondering what you’re baking!
A Gluten-Free Version of Apple Crisp
For those who need to adhere to a gluten-free diet, transforming your old-fashioned apple crisp is easier than you might think. Swap out regular oats with certified gluten-free oats and use a gluten-free all-purpose flour blend for the topping. You might also try almond flour for a nutty twist! Enhance the sweetness with maple syrup or a touch of honey instead of brown sugar for a unique flavor profile. For more tips on gluten-free baking, you can check out the article on gluten-free substitutions from the Gluten-Free Society.
By making these simple adjustments, you not only cater to dietary needs but also surprise everyone with a delicious twist on a classic favorite! So go ahead and experiment—your old-fashioned apple crisp can be as versatile as your creativity allows. Happy baking!
Cooking Notes for Old-Fashioned Apple Crisp
Tips for Selecting the Best Apples
Choosing the right apples can make or break your old-fashioned apple crisp. Look for a mix of tart and sweet apples for the best flavor. Varieties like Granny Smith, Honeycrisp, and Fuji work wonders together. If you can, visit your local farmer’s market for freshly picked apples; they’ll have that delightful crunch and juiciness that store-bought varieties may lack. Remember, the best apples are firm and free from blemishes.
Storing Leftovers to Maintain Crispiness
After you’ve indulged in your delicious old-fashioned apple crisp, you might be wondering how to keep those leftovers fabulous. To maintain its signature crunch, store the crisp in an airtight container at room temperature for up to two days. If you need to keep it longer, consider refrigerating it—but note that this may affect the texture. When you’re ready to enjoy it again, a quick reheating in the oven can help restore some of that delightful crispiness.
For more apple-related tips, check out resources from The Spruce Eats and keep experimenting with the perfect blend of flavors!
Serving Suggestions for Old-Fashioned Apple Crisp
Pairing with Vanilla Ice Cream
One of the best ways to elevate your old-fashioned apple crisp experience is to serve it warm with a scoop of creamy vanilla ice cream. The contrasting temperatures create a delightful mouthfeel—crisp, warm apples paired with cold, smooth ice cream. It’s almost magical!
You might even consider using gourmet vanilla for an extra touch, or perhaps a dairy-free alternative if you prefer. According to experts at AllRecipes, the combination of sweet and tart apples, cinnamon, and ice cream is a timeless classic that keeps your guests coming back for seconds.
Adding a Twist with Caramel Sauce
Feeling a bit adventurous? Drizzle some rich caramel sauce over your old-fashioned apple crisp for an indulgent twist. The sticky sweetness of the caramel complements the warm spices beautifully, making every bite feel like a decadent treat. You can make your own caramel sauce at home or go for a store-bought option; just make sure it’s high quality.
Feel free to experiment with flavors like sea salt caramel for a savory balance or even top it off with some roasted nuts for crunch. Whichever way you choose, your apple crisp is bound to shine brighter at your next gathering!
Time Breakdown for Old-Fashioned Apple Crisp
When you’re ready to create your old-fashioned apple crisp, knowing the time needed can help you plan your baking adventure efficiently.
Preparation Time
The preparation time is around 15 to 20 minutes. This is when you’ll slice the apples, mix in the cinnamon and sugar, and combine the ingredients for your crisp topping. It’s the perfect opportunity to take your time and savor the process, perhaps while listening to your favorite podcast or music.
Baking Time
You can expect the baking time to be about 30 minutes. During this period, your kitchen will fill with a delightful aroma as the old-fashioned apple crisp transforms into a golden-brown masterpiece.
Total Time
In total, you’ll spend approximately 50 to 60 minutes from start to finish. This includes prep and baking, making it a relatively quick yet impressive dessert option for any weeknight or gathering.
Now that you have the breakdown, check out additional tips for choosing the best apples here and enhancing your crisp topping here!
Nutritional Facts for Old-Fashioned Apple Crisp
Calories and Serving Size
A typical serving of old-fashioned apple crisp contains approximately 200-250 calories, depending on the portion size and specific ingredients used. For a comforting dessert, sticking to a modest 1-cup serving is a delicious way to enjoy this classic treat without overindulging.
Key Nutrients
While you might think of apple crisp as an indulgence, it offers several key nutrients! Each serving provides:
- Fiber: Apples are a great source of dietary fiber, which can aid digestion and keep you feeling full longer.
- Vitamin C: Essential for immune function, this vitamin is abundant in apples and helps promote healthy skin.
- Antioxidants: Apples contain various antioxidants, which are known to reduce inflammation and combat chronic diseases.
For additional details on the health benefits of apples, check out this Nutritional Guide from the USDA.
So, the next time you dig into that warm bowl of old-fashioned apple crisp, remember you’re treating yourself to more than just a dessert—you’re indulging in a slice of good nutrition!
FAQs about Old-Fashioned Apple Crisp
What types of apples are best for apple crisp?
Choosing the right apples can make all the difference in your old-fashioned apple crisp. For a perfect balance of sweetness and tartness, consider using a mix of the following varieties:
- Granny Smith: Their tartness balances the sweetness of the sugar and other ingredients.
- Honeycrisp: Renowned for their sweet flavor and crisp texture, they hold up well during baking.
- Golden Delicious: These apples are sweet and very soft, making them great for a melt-in-your-mouth filling.
Feel free to combine these varieties to achieve your ideal flavor profile!
How can I make my crisp topping extra crunchy?
A crunchy topping can elevate your old-fashioned apple crisp to new heights! Here are some tips to achieve that perfect crunch:
- Use cold butter: Cold butter creates a flaky texture. Cut it into the dry ingredients until it resembles coarse crumbs.
- Add nuts: Chopped pecans or walnuts not only add crunch but also enhance the flavor.
- Incorporate oats: Old-fashioned rolled oats provide an additional layer of texture.
- Bake at a higher temperature: Starting at 375°F for the first 15 minutes before lowering to 350°F can yield a delightful golden brown.
Can I make apple crisp ahead of time?
Absolutely! Preparing your old-fashioned apple crisp ahead of time can save you effort later. You can assemble the filling and topping separately and store them in the refrigerator. When you’re ready, just combine and bake! Alternatively, bake it completely and store in the fridge for up to two days; reheat before serving for that fresh, just-baked taste.
These tips should help you create a delicious dessert that you can cherish or share with friends. If you’re interested in more apple recipes or baking tips, consider checking out resources from The Kitchn or Bon Appétit for inspiration!
Conclusion on Old-Fashioned Apple Crisp
Creating old-fashioned apple crisp in your kitchen is more than just a simple dessert—it’s a beautiful way to bring warmth and comfort to your home. The joy of homemade desserts lies in their ability to create lasting memories, whether it’s sharing a slice with friends or savoring a warm bowl after a long day.
By using fresh apples and a delightful mixture of spices, you’re not only indulging your sweet tooth but also embracing the tradition of home baking. Next time you’re looking for a crowd-pleaser or a cozy night in, consider whipping up this classic treat. Want to learn more about apple varieties? Check out the USDA’s Guide on Apple Types for more options!
PrintOld-Fashioned Apple Crisp: A Cozy Dessert You’ll Love
Enjoy a warm and delightful Old-Fashioned Apple Crisp that brings comfort to every bite. This classic dessert combines ripe apples with a buttery, crunchy topping.
- Prep Time: 15 minutes
- Cook Time: 45 minutes
- Total Time: 1 hour
- Yield: 8 servings 1x
- Category: Dessert
- Method: Baking
- Cuisine: American
Ingredients
- 6 cups sliced apples
- 1 cup brown sugar
- 1 cup rolled oats
- 1 cup all-purpose flour
- 1/2 cup butter, melted
- 1 teaspoon cinnamon
- 1/2 teaspoon nutmeg
Instructions
- Preheat the oven to 350°F (175°C).
- In a large bowl, mix together the sliced apples, 1/2 cup of the brown sugar, cinnamon, and nutmeg.
- Pour the apple mixture into a greased baking dish.
- In another bowl, combine the oats, flour, remaining brown sugar, and melted butter to form a crumbly topping.
- Spread the topping evenly over the apples.
- Bake in the preheated oven for 45 minutes or until the topping is golden brown and apples are tender.
Notes
- Serve warm with vanilla ice cream for an extra treat.
- This recipe is perfect for using up extra apples in the fall.
Nutrition
- Serving Size: 1 serving
- Calories: 250
- Sugar: 20g
- Sodium: 150mg
- Fat: 12g
- Saturated Fat: 7g
- Unsaturated Fat: 3g
- Trans Fat: 0g
- Carbohydrates: 35g
- Fiber: 3g
- Protein: 2g
- Cholesterol: 30mg
Keywords: Old-Fashioned Apple Crisp, Dessert, Baking