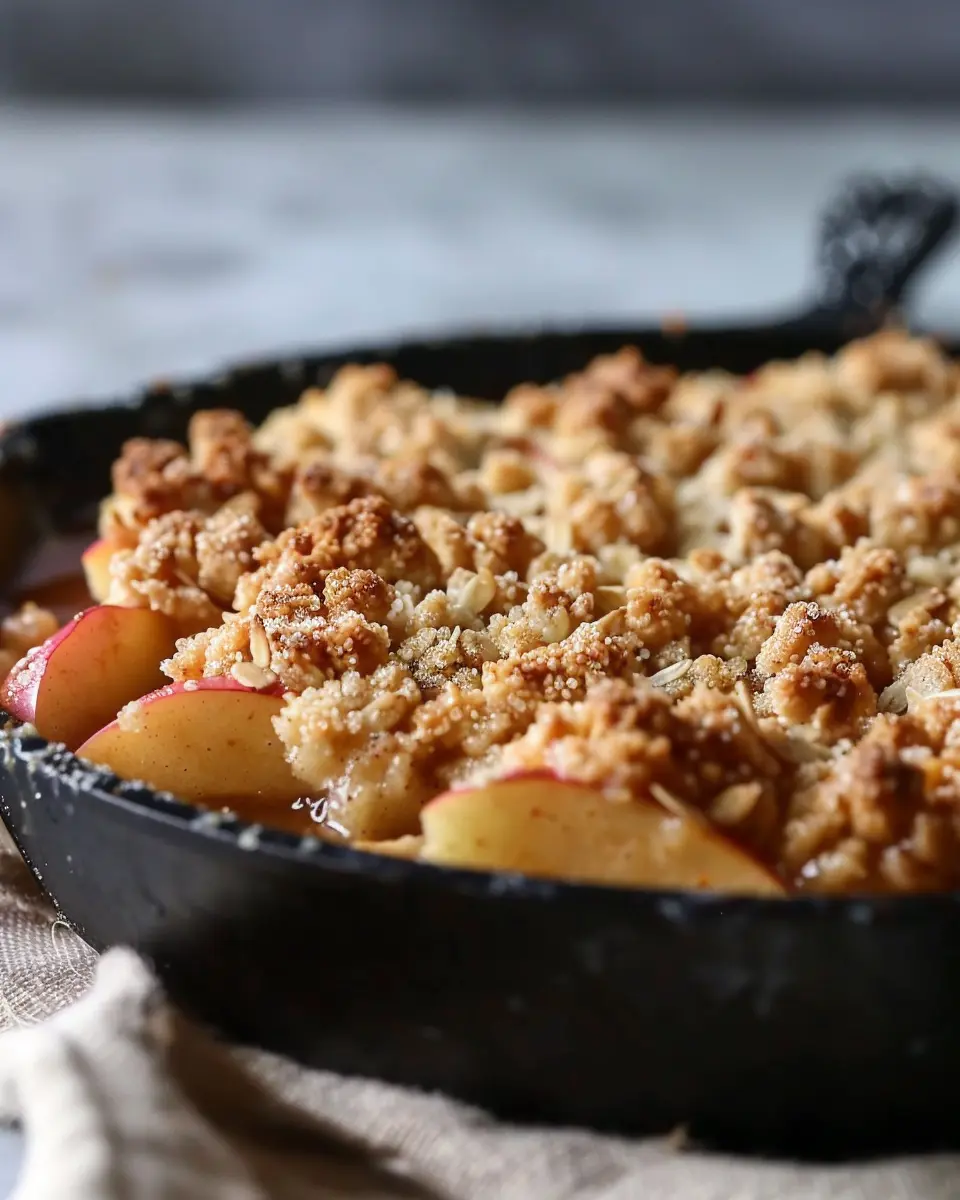
Introduction to Cast Iron Apple Crisp
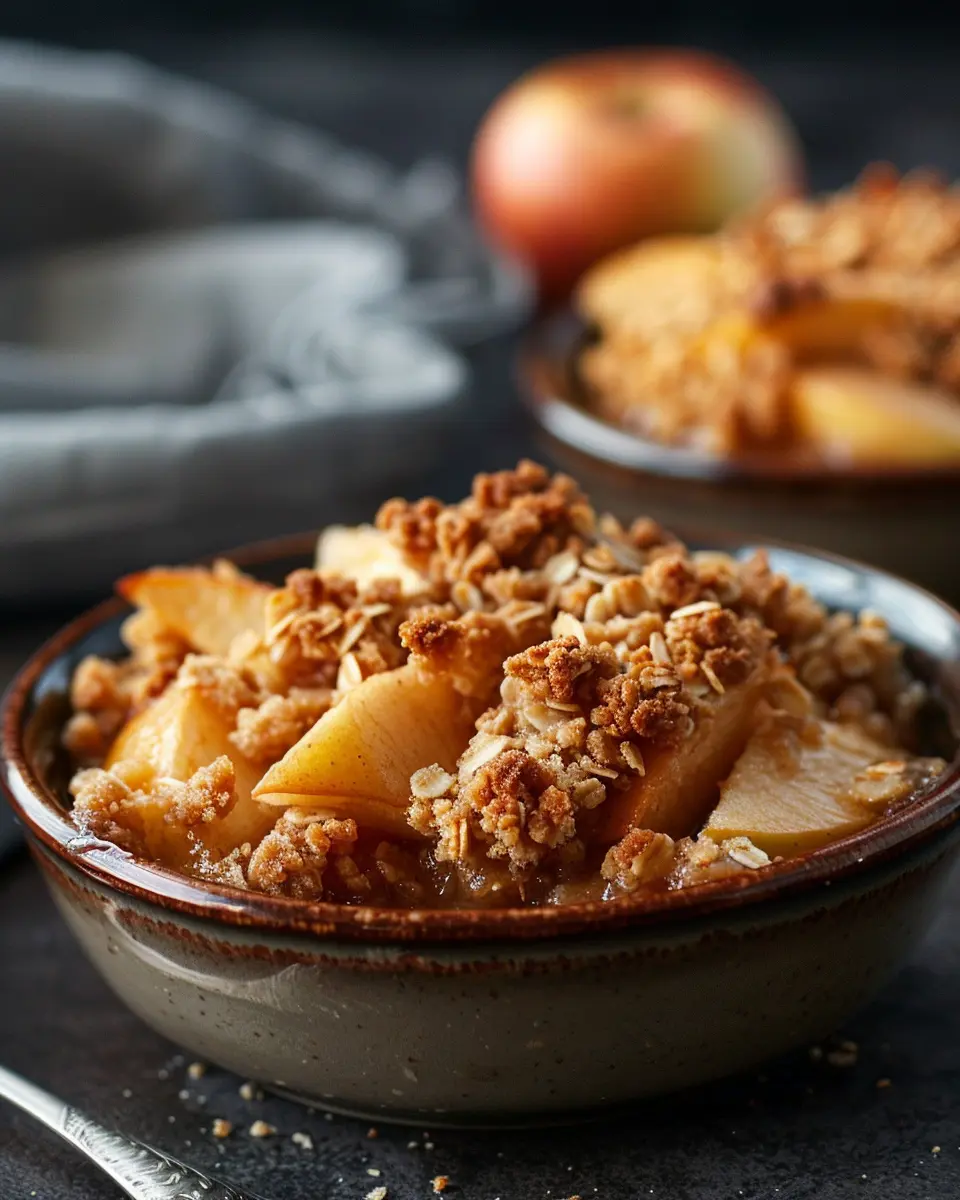
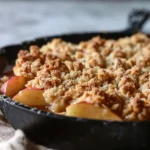
If you haven’t tried a cast iron apple crisp, you’re in for a real treat! This dessert is more than just a sweet ending to your meal; it’s an experience that combines rustic charm with a delightful mix of flavors. Think warm, gooey apples spiced with cinnamon and topped with a crunchy, buttery oat topping. But there’s something special about cooking it in a cast iron skillet—it’s all about that perfect texture and even baking. Plus, it gives you that vintage feel, right at home.
Why Cast Iron Apple Crisp Is a Must-Try Dessert
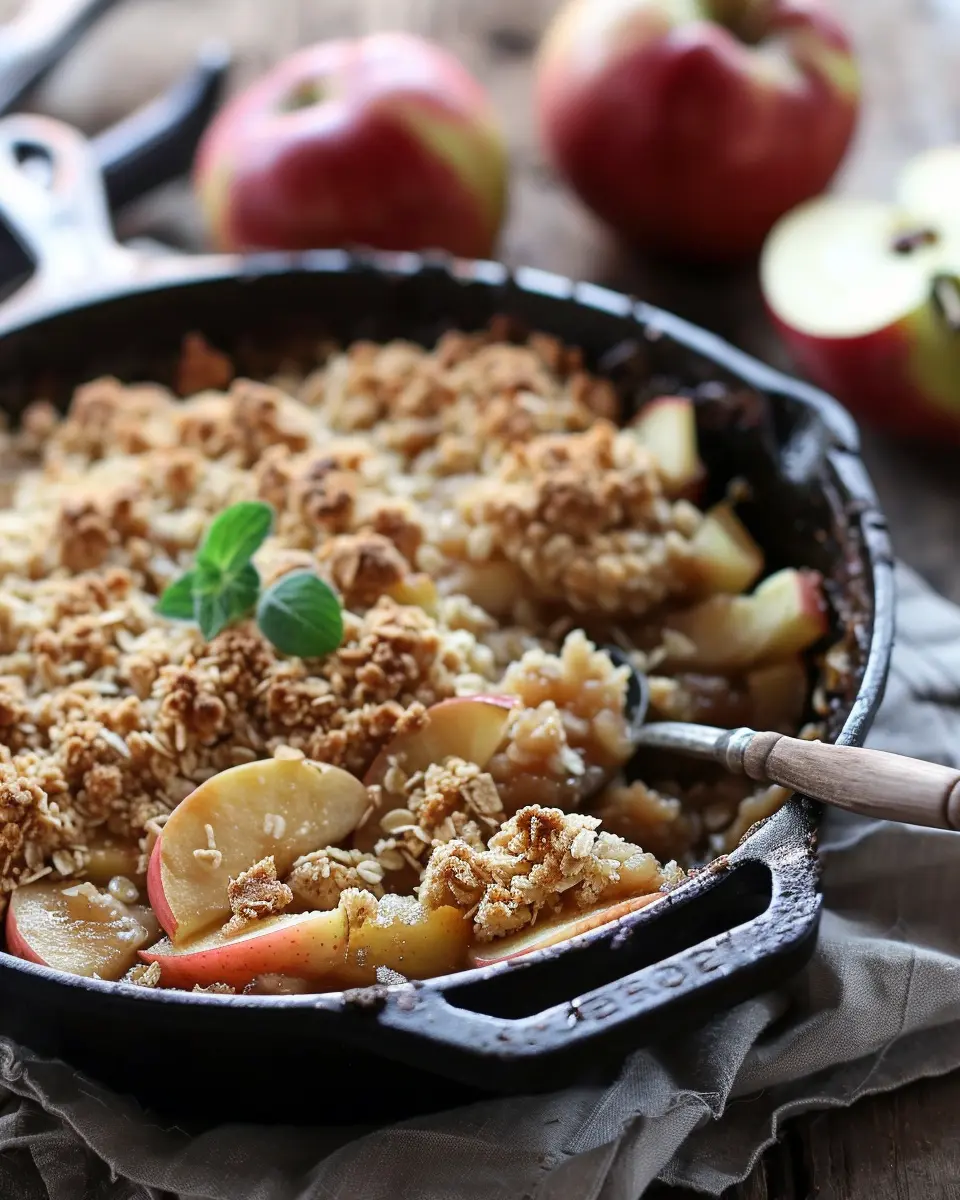
Imagine a cozy fall evening, the aroma of baked apples wafting through your kitchen. That’s the magic a cast iron apple crisp brings. Using a cast iron skillet isn’t just for looks; it helps to achieve an even cook, creating a golden-brown topping while keeping the apples tender underneath. Plus, cast iron retains heat exceptionally well, allowing the crisp to remain warm and inviting long after it’s out of the oven.
But why stop at just the delicious flavors? A serving of apple crisp packs some nutritional benefits too:
- Apples are rich in fiber and antioxidants. According to a study published by the USDA, just one medium apple contains about 4 grams of fiber, which aids digestion.
- Whole oats in the topping add heart-healthy whole grains, low in fat but high in protein.
If you’re looking to impress guests at a dinner party or simply treat yourself after a long day, this dessert checks all the boxes. Not only is it easy to prepare, but it also allows for some creativity. Feel free to mix in nuts or experiment with different spices!
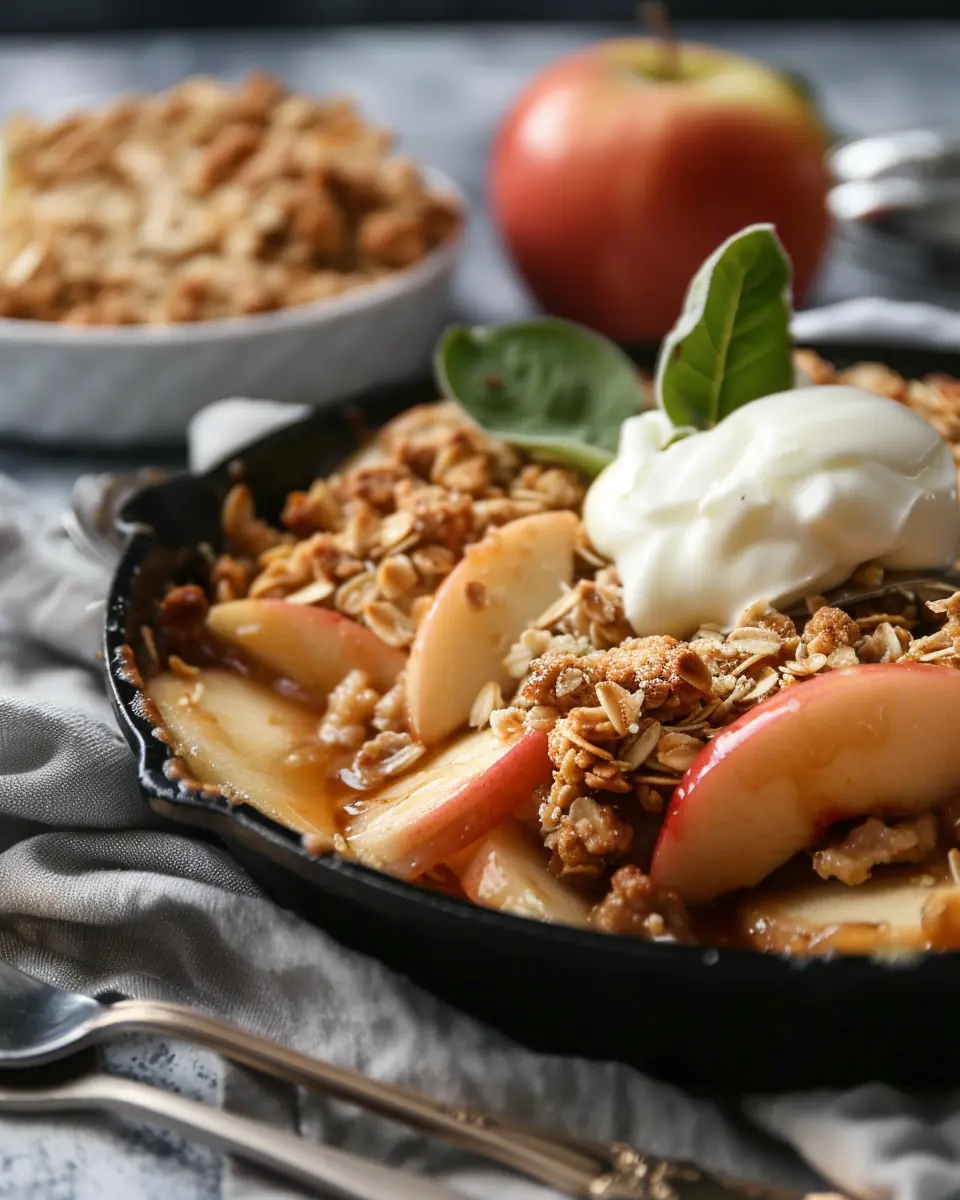
And the best part? You can serve it straight from the skillet, adding to that rustic charm. If you want to heighten the experience, consider pairing it with a scoop of vanilla ice cream or a dollop of whipped cream for a contrast of warm and cool.
Whether you’re a seasoned baker or a novice in the kitchen, a cast iron apple crisp is a dessert that guarantees success and satisfaction. So gather your ingredients and let’s dive into making this delicious dish!
Ingredients for Cast Iron Apple Crisp
If you’re looking for a cozy dessert that’s easy to whip up and bursting with flavor, cast iron apple crisp is your answer. Here’s what you’ll need to create this delightful dish:
Fresh Apples
- 6 to 8 medium-sized apples (Granny Smith and Honeycrisp are great choices)
- Juice of 1 lemon (to keep those apples from browning)
Tasty Toppings
- 1 cup rolled oats (adds a nutty texture)
- 3/4 cup all-purpose flour (for the crispiness)
- 1/2 cup packed brown sugar (brown sugar brings that rich sweetness)
- 1/2 cup granulated sugar (for a balanced sweetness)
- 1/2 teaspoon cinnamon (because what’s apple crisp without a hint of spice?)
- 1/4 cup cold butter (unsalted works best)
- 1 cup chopped nuts (walnuts or pecans for crunch)
With just a handful of ingredients, you’re on your way to making a cast iron apple crisp that will impress your friends and satisfy your sweet tooth. Not to mention, cooking it in a cast iron skillet gives it that beautifully rustic appearance! Interested in more ideas? Check out this link for some fun apple dessert variations.
Preparing Cast Iron Apple Crisp
Cast iron apple crisp is not just a dessert; it’s an experience filled with warm, comforting flavors. The great thing about cooking this delicious dish in a cast-iron skillet is that it provides even heat distribution, leading to that perfectly golden, crisp topping. Let’s dive into the preparation of this delightful dessert.
Gather Your Ingredients
Creating a cast iron apple crisp starts with gathering the right ingredients. Here’s what you’ll need:
- Fresh apples (about 6 cups, peeled, cored, and sliced, preferably Granny Smith or Honeycrisp for that perfect blend of tart and sweet)
- Granulated sugar (¾ cup for the filling)
- Brown sugar (¼ cup for added richness)
- Cinnamon (2 teaspoons for warmth)
- Oats (1 cup, old-fashioned provide the best texture)
- All-purpose flour (¾ cup for the topping)
- Unsalted butter (½ cup, melted)
- Salt (1 teaspoon for balance)
Once you have everything on hand, you’re halfway to bliss!
Preheat Your Oven and Prepare the Apples
Before you get into the nitty-gritty of the recipe, preheat your oven to 350°F (175°C). This step is crucial as it ensures your cast iron apple crisp bakes evenly. While the oven is warming up, start preparing those apples.
- Peel, core, and slice the apples into thin wedges.
- Place the slices in a large bowl and toss them with granulated sugar, brown sugar, and cinnamon.
- Allow the apples to rest for about 10-15 minutes. This resting time not only enhances the sweetness but also allows the natural juices to come out.
Fun fact: Did you know that the variety of apple you choose can greatly impact the flavor of your crisp? Grannies for tanginess and Honeycrisps for sweetness!
Create the Delicious Apple Filling
Building the apple filling is a breeze! After your apples have rested:
- Toss the apple slices again to coat them in the sugars and spices.
- If you like, you can add a splash of lemon juice to brighten the flavors. This step is especially helpful if you’re using tart apples to balance out the sweetness.
Once mixed, pour the apple filling directly into your preheated cast iron skillet. Trust me—this combination of apples and sugar is the foundation for your dessert masterpiece!
Mix the Oat Topping
Now let’s move on to that crunchy topping that makes a cast iron apple crisp truly special:
- In a separate bowl, combine oats, flour, brown sugar, and salt.
- Pour in the melted butter and mix it gently until everything is nicely combined, resembling coarse breadcrumbs.
This oat mixture is what gives that lovely crunch on top of your sweet apple filling. Who could resist?
Combine and Bake in the Skillet
With both components ready, it’s time to bring them together.
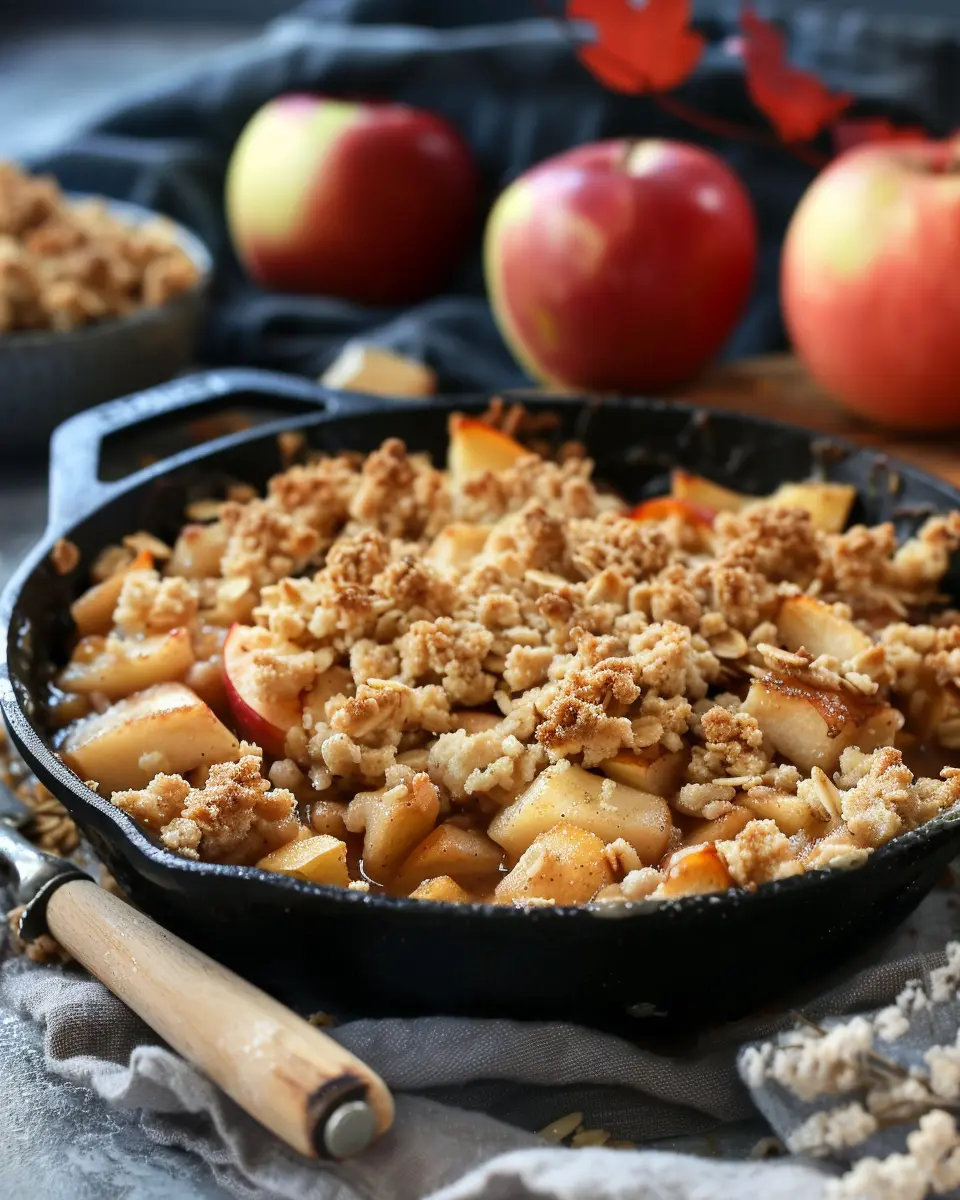
- Sprinkle the oat mixture evenly over the apple filling in the skillet.
- Place the skillet in the preheated oven and bake for about 45-50 minutes. You’ll want to check for a bubbly apple layer and golden-brown topping—this is when you know your cast iron apple crisp is just about done.
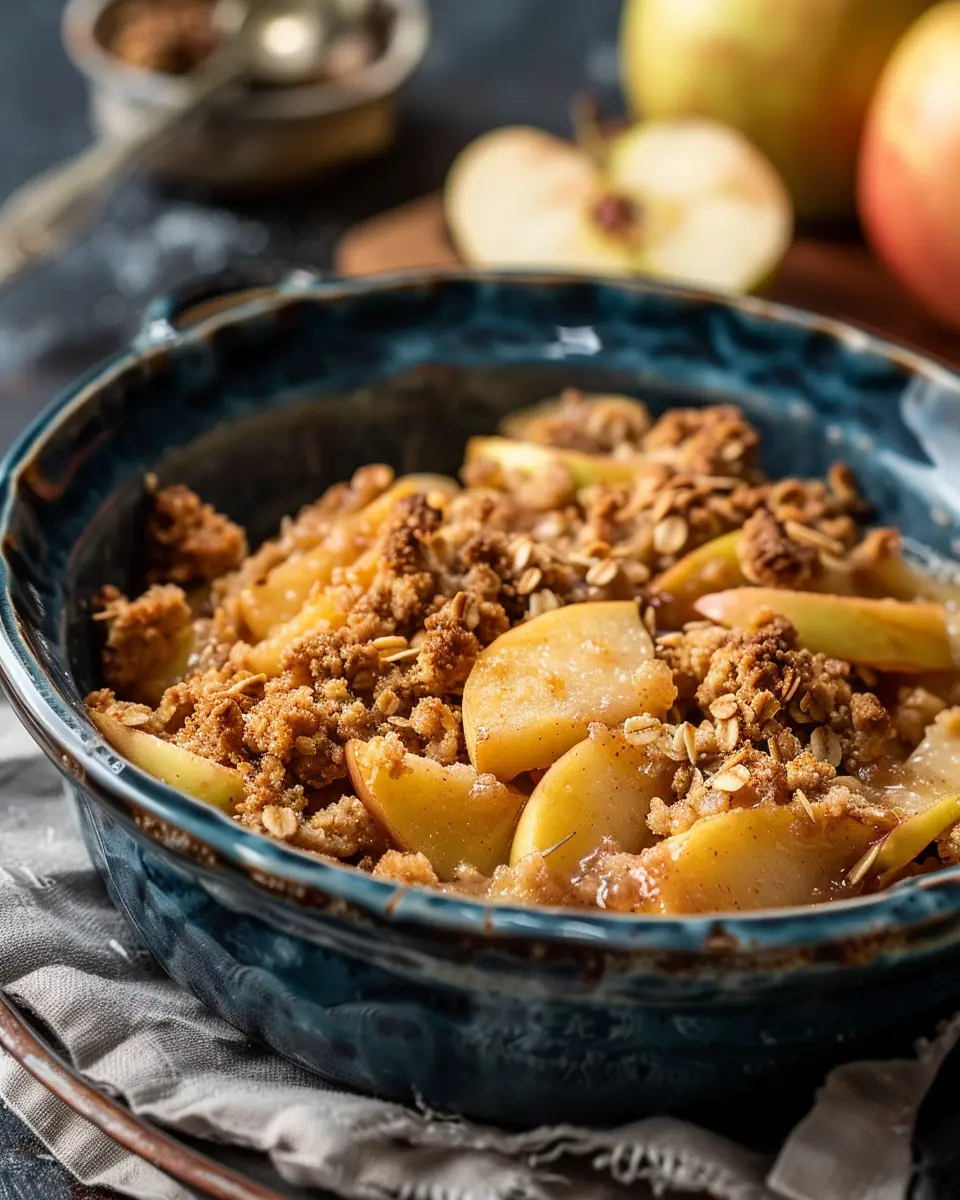
When it’s finished baking, let your crisp cool for a few minutes; this can be torturous, just know it’ll be worth the wait! Whether you serve it warm on its own, or topped with vanilla ice cream, you’re in for a treat that warms the heart and satisfies the soul.
Now that you know how to prepare a cast iron apple crisp, it’s time to gather your friends for a cozy evening filled with laughter and great food. Enjoy!
Variations on Cast Iron Apple Crisp
Gluten-Free Cast Iron Apple Crisp
For those who are embracing a gluten-free lifestyle, making a cast iron apple crisp can be just as delightful! Simply substitute regular flour with almond flour or a gluten-free baking blend. The nutty flavor of almond flour beautifully complements the apples, and it gives your dish an added depth. You can also use gluten-free oats for the topping, ensuring each bite is both satisfying and safe for your dietary needs. Plus, using a combination of apples like Granny Smith and Fuji can add layers of flavor that are simply delicious!
If you’re interested in more gluten-free baking tips, you might want to check out The Gluten-Free Baking Co..
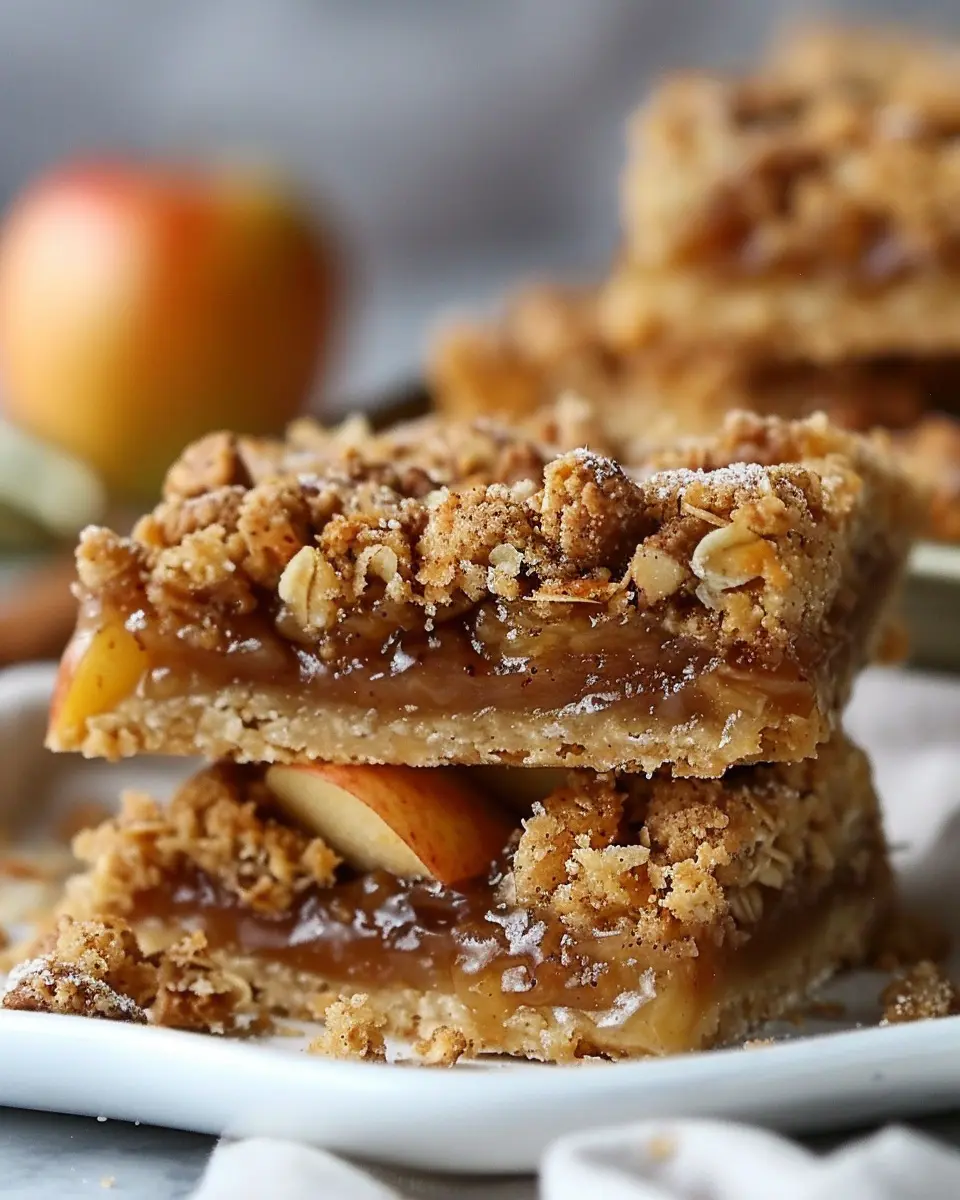
Extra Crunchy Topping Options
Nothing elevates a cast iron apple crisp quite like a crunchy topping! If you’re looking to amp up the texture, consider incorporating some unique ingredients:
- Nuts: Chopped pecans or walnuts bring not only crunch but also a beautiful richness.
- Shredded Coconut: Adding unsweetened coconut flakes creates a tropical twist.
- Granola: Stirring in your favorite granola adds a delightful crunch while also enhancing flavor with its mix of spices.
Feel free to customize the topping to suit your preferences or what you have on hand. The beauty of a cast iron apple crisp is its versatility. Have fun experimenting, and you might stumble upon your new favorite variation!
Remember, the key is to find the balance of sweetness and crunch that makes your taste buds dance with joy! Whether you’re hosting a cozy gathering or simply treating yourself, these variations will ensure your apple crisp shines.
Cooking Tips and Notes for Cast Iron Apple Crisp
Storing and Reheating Leftovers
After enjoying your delicious cast iron apple crisp, you might find yourself with some leftovers. Store them in an airtight container in the refrigerator for up to 3 days. Reheating is easy—just pop it in the oven at 350°F for about 15 minutes until warmed through. For that extra crisp, you could broil it briefly, but keep a close eye, so it doesn’t burn!
Choosing the Right Apples
Selecting the best apples is key for a stellar cast iron apple crisp. Opt for a mix of tart and sweet varieties like Granny Smith and Honeycrisp. The tart apples bring a delightful balance that enhances the sweetness of the added sugar. Try to avoid mealy apples like Red Delicious—they just won’t hold up in the warmth of the oven. Your choice in apples can elevate your dish from good to exceptional! For more apple tips, check out this comprehensive apple guide.
Remember, the heart of a great crisp starts with thoughtful ingredient choices!
Cast Iron Apple Crisp: The Best Homemade Comfort Dessert
A delicious and comforting cast iron apple crisp, perfect for any dessert lover.
- Prep Time: 15 minutes
- Cook Time: 35 minutes
- Total Time: 50 minutes
- Yield: 8 servings 1x
- Category: Dessert
- Method: Baking
- Cuisine: American
- Diet: Vegetarian
Ingredients
- 6 cups sliced apples
- 1 tablespoon lemon juice
- 1 cup oats
- 1 cup brown sugar
- 1/2 cup all-purpose flour
- 1/2 teaspoon cinnamon
- 1/4 teaspoon nutmeg
- 1/2 cup melted butter
Instructions
- Preheat your oven to 350°F (175°C).
- In a large bowl, combine the sliced apples and lemon juice. Mix well.
- In another bowl, mix oats, brown sugar, flour, cinnamon, and nutmeg.
- Add the melted butter to the dry mixture and combine until crumbly.
- Layer the apple mixture in a cast iron skillet and top it with the oat mixture.
- Bake for about 30-35 minutes or until the topping is golden brown.
Notes
- Serve warm with vanilla ice cream for extra indulgence.
- Feel free to mix in other fruits like pears or berries.
Nutrition
- Serving Size: 1 slice
- Calories: 250
- Sugar: 20 grams
- Sodium: 100 mg
- Fat: 10 grams
- Saturated Fat: 5 grams
- Unsaturated Fat: 3 grams
- Trans Fat: 0 grams
- Carbohydrates: 35 grams
- Fiber: 3 grams
- Protein: 2 grams
- Cholesterol: 15 mg
Keywords: Cast Iron Apple Crisp, homemade dessert, comfort food