Introduction to Cast Iron Apple Crisp
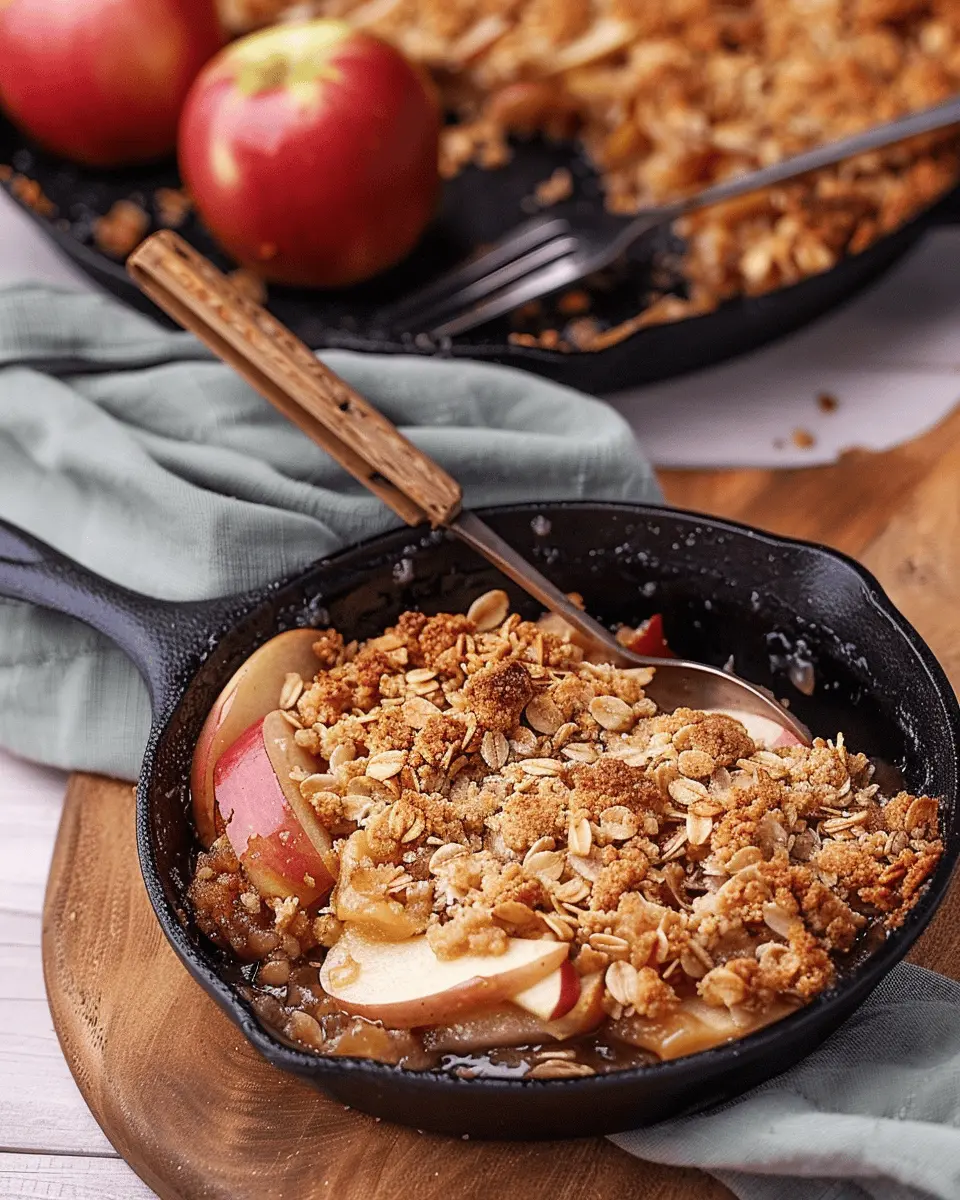
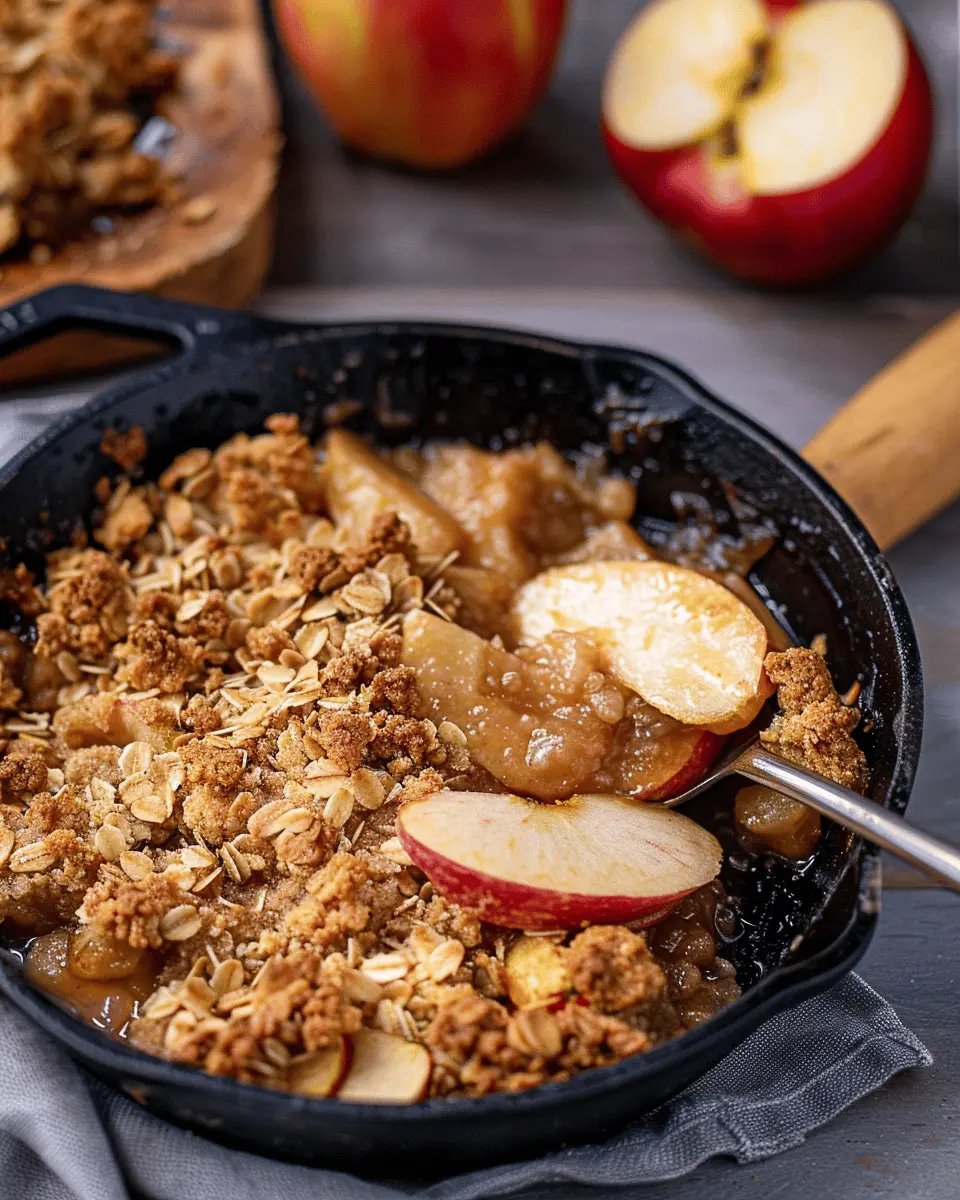
There’s something truly special about a cast iron apple crisp. It’s not just a delightful treat; it’s a nostalgic journey that transports you back to cozy evenings spent in the kitchen, where sweet aromas mingle with warmth and love. Imagine biting into a perfectly baked, golden apple crisp, the tender fruit mingling with a bubbly, buttery topping that’s impossibly delicious.
Why Choose Cast Iron for Your Apple Crisp?
You might wonder, what’s so great about using cast iron for this dessert? Well, let me break it down for you. First off, the even heat distribution from cast iron pans ensures that your apple crisp cooks uniformly. No worrying about hot spots that could lead to unevenly baked goodness! This means every bite will be just as delightful as the last.
Moreover, cast iron thrives at high temperatures, allowing that lovely caramelization to occur on your apples. The result? A gloriously crispy topping paired with perfectly tender, sweetened apples that just melt in your mouth. Plus, cast iron also retains heat excellently, keeping your dessert warm long after it comes out of the oven. Perfect for serving!
Did you know that using cast iron is also environmentally friendly? Unlike disposable bakeware, a well-cared-for cast iron skillet can last a lifetime and can even be passed down through generations. With just a little seasoning, it can develop a natural non-stick surface that enhances the flavor of your food over time.
To get the most out of your cast iron apple crisp, consider choosing organic apples, which are not only better for your health but also flavorful. Some excellent options include Granny Smith for tartness or Honeycrisp for sweetness. You can learn more about selecting apples at sites like The Spruce Eats.
So, as you prepare to whip up this delightful treat, remember that using a cast iron skillet will elevate your cooking experience. Plus, who doesn’t love that rustic charm? Your friends and family will appreciate both the beauty and the deliciousness that comes from a cast iron apple crisp!
Ingredients for Cast Iron Apple Crisp
Creating a mouthwatering cast iron apple crisp is all about selecting the right ingredients that work harmoniously together. Here’s what you’ll need to make this delicious dessert in your favorite cast iron skillet.
Essential ingredients for the filling
For the filling, you’ll want a combination of tart and sweet apples, which gives that perfect balance of flavor. Common choices include:
- Tart apples: Granny Smith or Jonathan
- Sweet apples: Fuji or Honeycrisp
- Granulated sugar: For sweetness
- Brown sugar: Adds a caramelized flavor
- Cinnamon: This warming spice elevates the dish
- Nutmeg: A sprinkle for that cozy touch
- Lemon juice: To balance sweetness and enhance flavors
Want to explore more apple varieties? Check out this guide from The Apple Research Project.
Topping ingredients you can’t miss
Now, onto that famous crisp topping! It’s all about texture and flavor here:
- Old-fashioned oats: For chewiness and crunch
- All-purpose flour: Helps bind the ingredients
- Unsalted butter: For richness and moisture
- Brown sugar: Enhances texture with a touch of sweetness
- Chopped nuts: Walnuts or pecans for extra crunch
This combination will create a delightful topping that perfectly complements the cast iron apple crisp filling. Happy baking!
Step-by-step Preparation of Cast Iron Apple Crisp
Making a delicious cast iron apple crisp is more than just following a recipe; it’s about creating an experience that warms both the body and soul. Whether you’re preparing for a cozy evening at home or hosting friends, this delightful dessert is sure to impress. Let’s dive into the preparation steps, ensuring your journey is as enjoyable as the outcome.
Prepping the apples
The first step to a fantastic cast iron apple crisp is choosing the right apples. Opt for a mix of tart and sweet varieties, such as Granny Smith for tartness and Honeycrisp for sweetness. This combination adds depth and flavor complexity to your dish.
Here’s how to prep your apples:
- Wash thoroughly: Rinse each apple under cold water to remove any residues.
- Core and slice: Using an apple corer or a knife, remove the core and slice the apples into thin wedges or chunks. Aim for uniformity in size to ensure even cooking.
- Season lightly: Once sliced, toss the apples in a bowl with a bit of lemon juice to prevent browning and enhance their natural flavors.
A little tip: Did you know that keeping the peel on adds nutritional value and flavor? It also gives your crisp a rustic charm!
Making the filling
Now that you have your apples prepped, it’s time to whip up the filling. The filling is where the flavor really begins to shine. Here’s your simple guideline:
- Combine the apples: Add the prepared apples to a large mixing bowl.
- Add sugar and spices: Incorporate about 1/2 cup of granulated sugar, a teaspoon of cinnamon, and a pinch of nutmeg. For some brightness, a tablespoon of cornstarch helps thicken the juices that are released while baking.
- Mix gently: Toss everything together gently until the apples are evenly coated.
This part is crucial — balancing sweetness with the natural tartness of the apples creates a delightful symphony of flavors.
Crafting the topping
What is an apple crisp without its signature crumbly topping? This is where the magic happens, and crafting it is incredibly simple:
- Gather your dry ingredients: In a medium bowl, mix 1 cup of rolled oats, 1 cup of flour, and another 1/2 cup of brown sugar. Adding some salt enhances the sweet flavors.
- Incorporate butter: Cut in 1/2 cup of softened unsalted butter until it resembles coarse crumbs. Your fingertips are great tools for this!
- Finalize with nuts (optional): If you like a bit of crunch, consider adding chopped walnuts or pecans (about 1/2 cup).
The topping should feel crumbly and slightly clumpy, promising that delightful crunch when baked.
Assembling in the skillet
Now for the exciting part — assembly in your cast iron skillet! This not only provides even heat distribution but also gives you a beautiful serving dish. Follow these steps:
- Layer the apple filling: Spread the seasoned apple mixture evenly across the bottom of the skillet.
- Top with your crumbly mixture: Evenly distribute your topping over the apples, making sure to cover all areas. You want to achieve that golden crust.
Optional: Drizzle a bit of maple syrup over the topping for extra sweetness that caramelizes while baking.
Baking your apple crisp to perfection
Preheat your oven to 350°F (175°C), and it’s time to bring everything together.
- Bake: Place the skillet in the preheated oven and bake for 30–35 minutes, or until the topping is a beautiful golden brown and the apples are bubbling.
- Cool before serving: Allow it to cool for about 10 minutes before digging in. This helps the juices settle and makes serving easier.
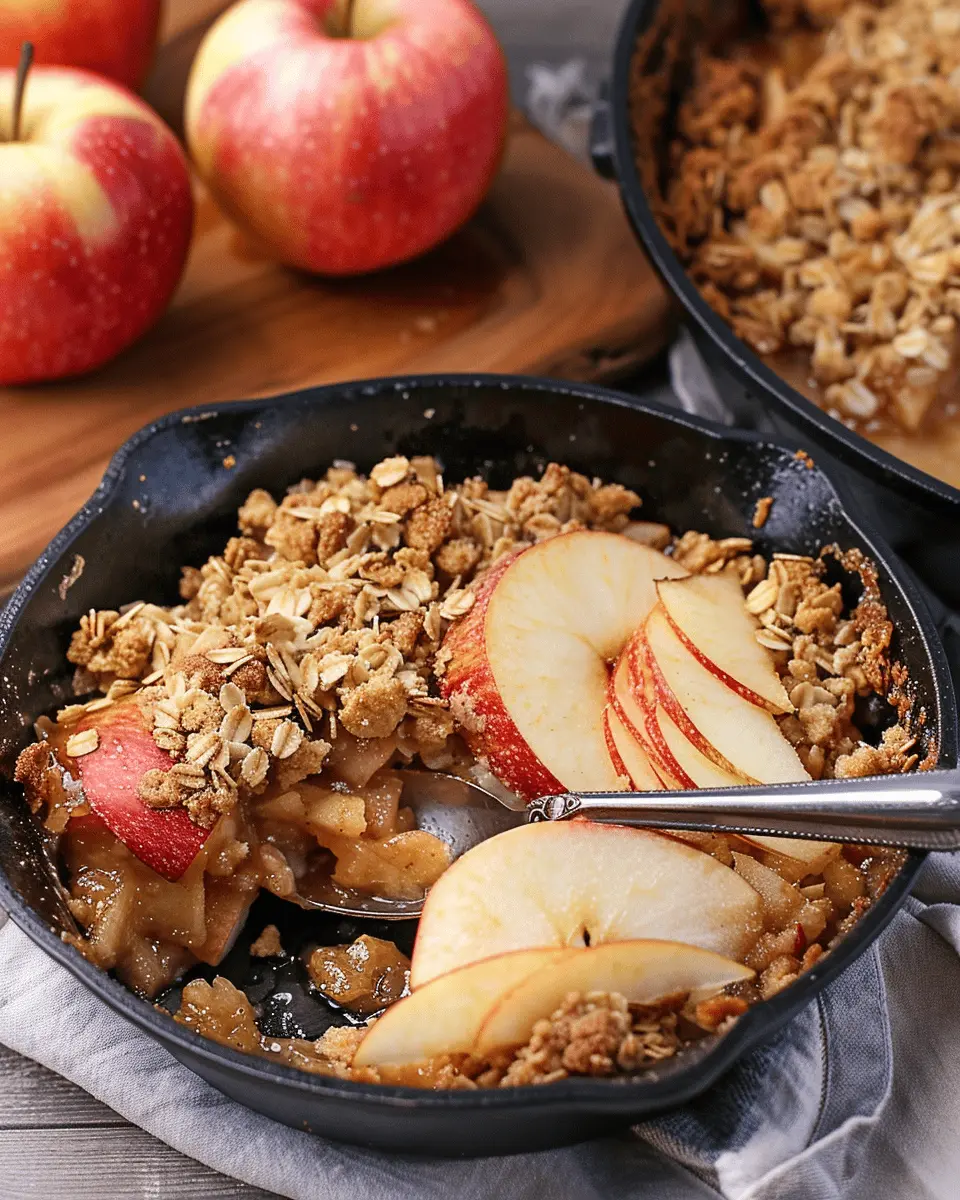
What’s better than enjoying a warm slice of cast iron apple crisp drizzled with fresh cream or scoops of vanilla ice cream?
By following these straightforward steps, your cast iron apple crisp will not only taste divine but will also create lasting memories in the kitchen. Don’t forget to share your experience and any tweaks you made along the way — we’d love to hear how it turned out! For more tips on perfecting your fruit desserts, check out resources from Food52 or Bon Appétit. Happy baking!
Variations on Cast Iron Apple Crisp
When it comes to creating a delightful cast iron apple crisp, there’s plenty of room to play around with flavors and textures. Here are some fun variations to elevate your classic dessert.
Gluten-Free Cast Iron Apple Crisp
For those with gluten sensitivities, you can easily adapt your cast iron apple crisp recipe. Substitute traditional flour with gluten-free alternatives like almond flour or oat flour. These provide a nutty flavor and delicious texture without compromising taste. Plus, consider using gluten-free oats for the topping if you enjoy a crunchy texture. Brands like Bob’s Red Mill offer excellent gluten-free products that are both tasty and accessible—check out their options in your local grocery store.
Adding Nuts or Other Fruits
Incorporating nuts can add a satisfying crunch to your cast iron apple crisp. Walnuts or pecans are fantastic choices—just chop them up and mix them into the topping for an extra layer of flavor. Want to get creative? Toss in a handful of berries, such as blueberries or raspberries, along with your apples. This not only enhances the flavor profile but also adds a vibrant color to your dessert. Mixing fruits keeps it interesting; consider adding dried cranberries or even peaches for a delightful twist.
Spicing It Up with Different Flavors
Thinking of a flavor boost? Experiment with spices beyond the classic cinnamon. Nutmeg, allspice, and a splash of vanilla extract can really elevate your cast iron apple crisp. If you’re feeling adventurous, consider a sprinkle of cardamom for an exotic twist. The beauty of apple crisp is its adaptability—let your taste buds guide you!
With these variations, your cast iron apple crisp will become a go-to dessert that impresses every time. Happy baking!
Cooking Tips and Notes for Cast Iron Apple Crisp
Choosing the Right Apples
When it comes to a delicious cast iron apple crisp, selecting the right apples is crucial. Look for a combination of sweet and tart varieties, such as Granny Smith for tartness and Honeycrisp for sweetness. This balance will enhance the overall flavor and texture of your dish. For more info on apple types, check out this helpful guide.
Adjusting Sweetness Levels
Not everyone has the same sweet tooth, so don’t hesitate to customize sweetness to your liking! You might use less sugar if you’re using naturally sweet apples or add a touch more if you prefer a richer dessert. A sprinkle of cinnamon can also accentuate sweetness without the need for more sugar.
Importance of Resting Time
After pulling your cast iron apple crisp from the oven, let it rest for at least 15 minutes before serving. This enables the juices to thicken, making for a better presentation and a more satisfying scoop. Trust us, that patience pays off!
Serving Suggestions for Cast Iron Apple Crisp
Best Pairing with Ice Cream or Whipped Cream
When it comes to enjoying your cast iron apple crisp, the ultimate treat lies in its pairing with either creamy ice cream or airy whipped cream. A scoop of vanilla ice cream adds a delightful contrast to the warm, spiced apples, melting slightly as it meets the crisp topping. If you prefer a lighter option, homemade whipped cream adds a buoyant touch that enhances the dish without overpowering it.
Consider trying variations like cinnamon ice cream for an extra flavor kick. Just imagine relishing that warm apple crisp against a backdrop of cold, sweet goodness—what a perfect combo for fall evenings!
Creative Serving Ideas for Gatherings
Planning a get-together? Your cast iron apple crisp can be the star of the dessert table! Serve individual portions in small ramekins topped with a sprig of mint for a fresh touch. Alternatively, create a DIY dessert bar where guests can customize their servings with toppings like crushed nuts, caramel drizzle, or even spiced yogurt.
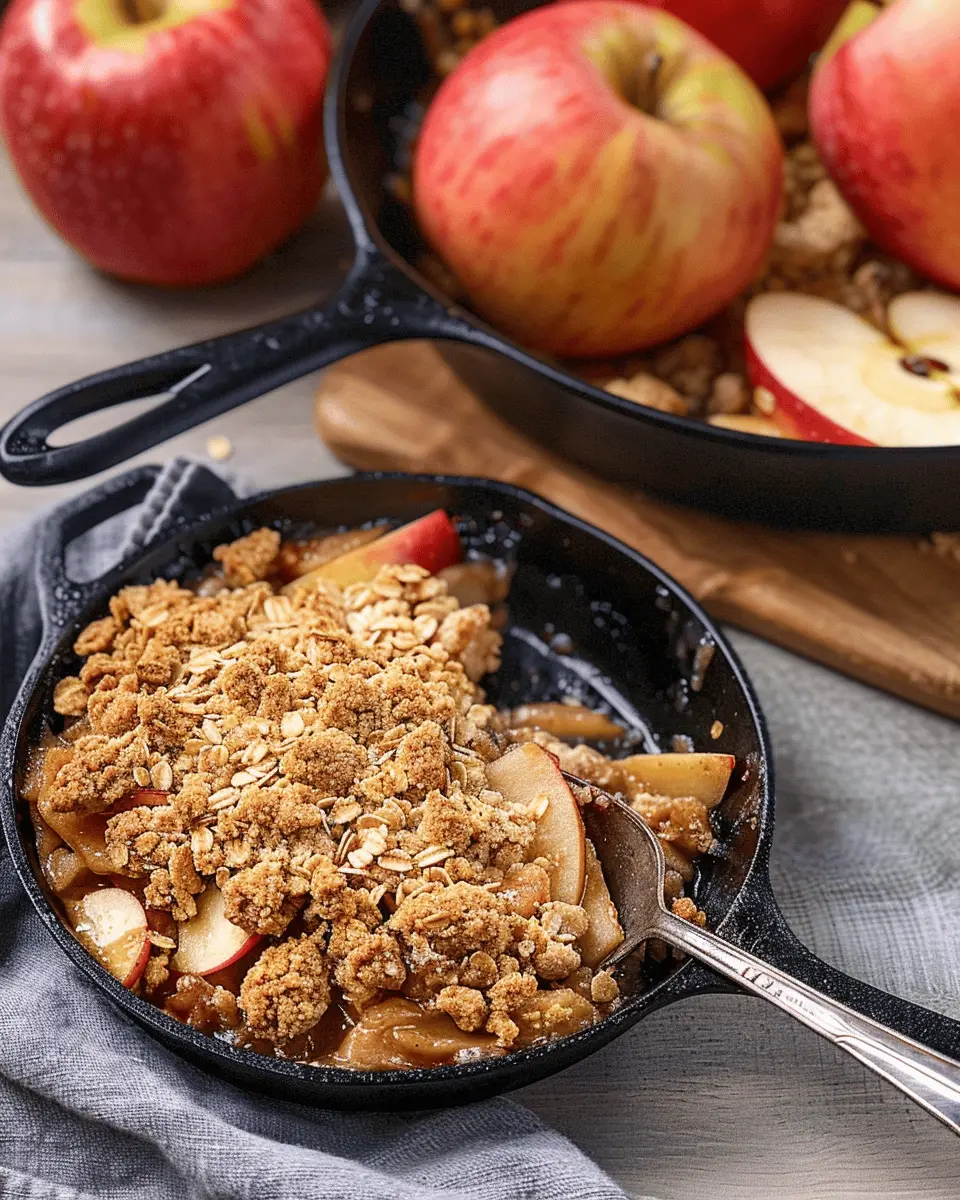
For an Instagram-worthy presentation, serve it directly from the cast iron skillet, adding charm and rustic appeal. This setup not only simplifies serving but also invites conversation around the table.
Explore more ways to enhance your gatherings with seasonal flavors in this article.
Remember, the joy of cooking and sharing is all about creating memorable experiences—so have fun with your cast iron apple crisp!
Time Breakdown for Cast Iron Apple Crisp
Preparation Time
Getting ready to whip up your delicious cast iron apple crisp should take about 15 to 20 minutes. This includes washing, peeling, and slicing your apples, as well as mixing your toppings. Don’t rush; this is the fun part! While prepping, why not turn up your favorite playlist? It makes the kitchen feel even more inviting.
Cooking Time
Once everything is prepped, it’s time to bake! Your cast iron apple crisp will need 30 to 35 minutes in the oven. Keep an eye on it toward the end—your kitchen will soon be filled with that warm, heavenly aroma of baking apples!
Total Time
All in all, you’re looking at around 50 to 55 minutes from start to finish. Perfect time to grab a beverage, maybe a warm cider or tea, and enjoy the aroma wafting through your home.
For a more in-depth guide on baking tips and apple varieties, check out resources from sites like Serious Eats or America’s Test Kitchen. It’s worth taking the time to learn about the best apples for baking!
Nutritional Facts for Cast Iron Apple Crisp
Calories per serving
A serving of cast iron apple crisp contains approximately 200–250 calories, making it a delightful dessert option without overwhelming your daily intake. This indulgence is perfect for satisfying your sweet tooth while maintaining a balanced diet.
Key nutrients
This dessert not only pleases the palate but packs in some vital nutrients as well. Each serving is rich in:
- Fiber: Thanks to the apples and oats, it aids digestion.
- Vitamin C: Your body will love the immune boost from the apples.
- Antioxidants: Oats and apples are both loaded with these, promoting overall wellness.
Consideration for dietary needs
If you have specific dietary needs, cast iron apple crisp can be easily adapted. Gluten-free oats or a sugar substitute can make this dish more inclusive. For those watching fat intake, consider using less butter or a healthier oil alternative.
For more tips on healthier baking, explore resources from the American Heart Association or Harvard Health. This way, you can enjoy every bite guilt-free!
FAQs about Cast Iron Apple Crisp
Can I use frozen apples for this recipe?
Absolutely! Using frozen apples can be a great time-saver. Just make sure to thaw them and drain any excess moisture before tossing them into your cast iron skillet. This helps prevent your apple crisp from becoming too soggy. Keep in mind that frozen apples might be a bit softer, so if you like that firm bite, you might want to add a couple of extra minutes to your baking time to ensure everything is cooked perfectly.
What are the best apples for making apple crisp?
When it comes to crafting the perfect cast iron apple crisp, the choice of apples is key! Some popular varieties are:
- Granny Smith: Tart and firm, they hold their shape well.
- Honeycrisp: Sweet with a nice crunch, providing a balancing flavor.
- Braeburn: A mix of sweet and tart, they add depth to your dish.
Combining different apples can elevate your dessert, making it even more delightful!
How do I store leftover apple crisp?
Storing leftover apple crisp is simple! Allow it to cool completely at room temperature, then cover it tightly with plastic wrap or transfer it to an airtight container. It can be stored in the refrigerator for up to 4–5 days. When you’re ready to enjoy it again, a quick reheat in the oven will help revive that crispy topping. Just a tip: you can even add a scoop of ice cream on top for an indulgent treat!
For more tips on apple varieties and dessert storage, check out resources from sites like The Spruce Eats. Happy baking!
Conclusion on Cast Iron Apple Crisp
Recap of the Joys of Making Homemade Apple Crisp
Creating a cast iron apple crisp is not just an exercise in baking; it’s an experience that brings warmth to your home and happiness to your taste buds. Picture this: the sweet aroma of cinnamon and apples filling your kitchen as you await that first scoop. This delectable dessert is all about easy preparation and delightful rewards.
By using your trusty cast iron skillet, you achieve a perfect balance of crispy topping and soft, caramelized apples. Plus, it’s a fantastic way to impress friends and family or to enjoy a satisfying dessert after a cozy dinner. So why not gather your ingredients and embrace the joy of homemade apple crisp? For more inspiration, check out trusted sources like the Food Network and Serious Eats!
PrintCast Iron Apple Crisp: The Best Quick and Easy Fall Dessert
Enjoy the warm flavors of fall with this quick and easy Cast Iron Apple Crisp that’s perfect for any occasion.
- Prep Time: 15 minutes
- Cook Time: 35 minutes
- Total Time: 50 minutes
- Yield: 8 servings 1x
- Category: Dessert
- Method: Baking
- Cuisine: American
- Diet: Vegetarian
Ingredients
- 6 medium apples, peeled and sliced
- 1 cup brown sugar
- 1 cup rolled oats
- 1 cup all-purpose flour
- 1 teaspoon ground cinnamon
- 1/2 cup unsalted butter, melted
Instructions
- Preheat the oven to 350°F (175°C).
- In a bowl, combine the sliced apples with half of the brown sugar and cinnamon.
- In another bowl, mix the oats, flour, remaining brown sugar, and melted butter until crumbly.
- Grease a cast iron skillet and layer the apple mixture, then top with the oat mixture.
- Bake for 30-35 minutes or until the top is golden brown.
- Let cool slightly before serving.
Notes
- Serve with vanilla ice cream for added flavor.
- Try using a mix of tart and sweet apples for depth of flavor.
Nutrition
- Serving Size: 1 serving
- Calories: 250
- Sugar: 20g
- Sodium: 150mg
- Fat: 10g
- Saturated Fat: 5g
- Unsaturated Fat: 3g
- Trans Fat: 0g
- Carbohydrates: 35g
- Fiber: 3g
- Protein: 2g
- Cholesterol: 15mg
Keywords: Cast Iron Apple Crisp, apple dessert, fall dessert, quick dessert