Introduction to Homemade Choco Tacos
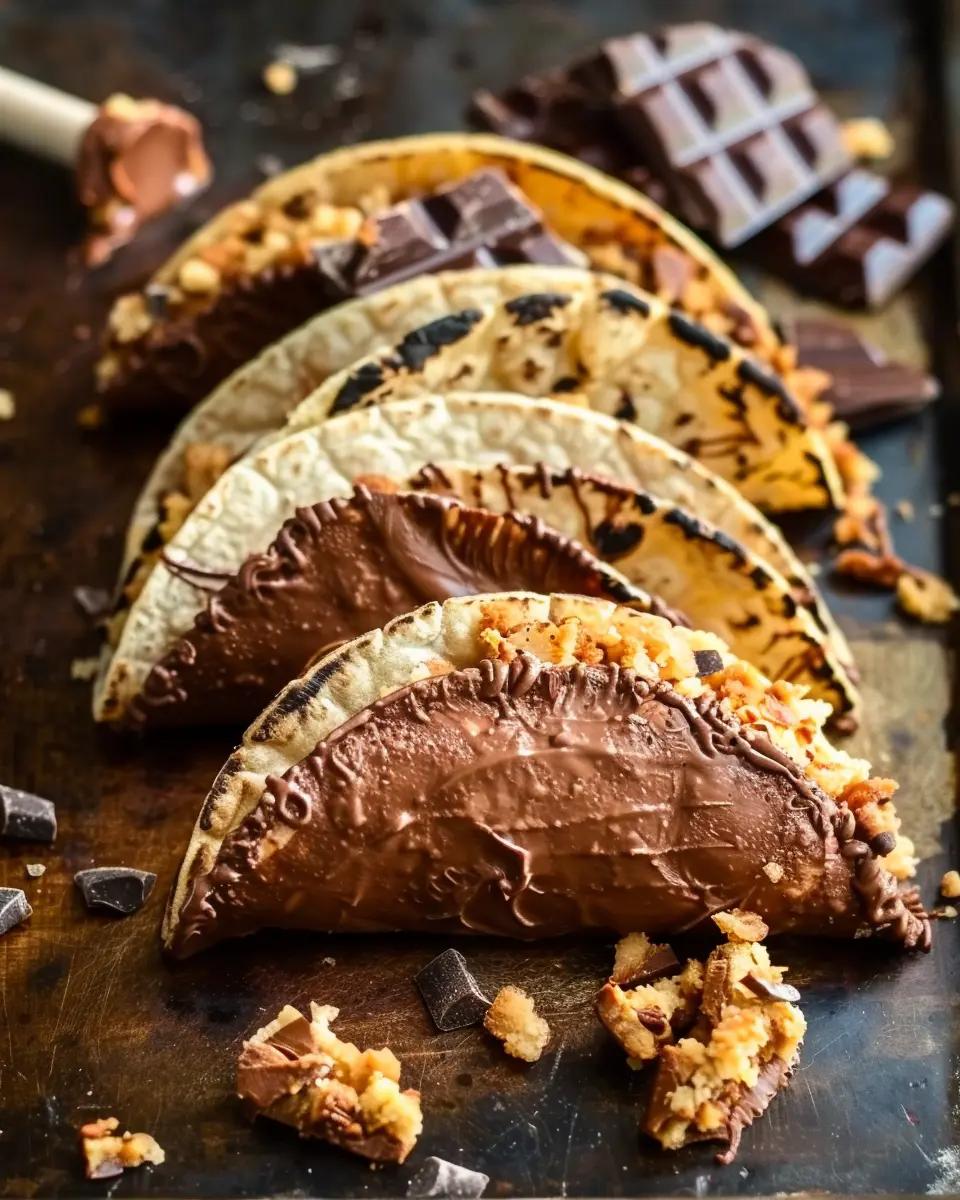
Have you ever had the pleasure of biting into a Choco Taco? This delightful treat combines the comforting crunch of a waffle cone shell with creamy, dreamy ice cream, all draped in a rich chocolate coating. It’s a nostalgic snack that transports us back to childhood, making it the perfect dessert for any occasion. But have you ever considered making your own homemade choco tacos?
Why Homemade Choco Tacos?
Creating your own version of Choco Tacos allows you to customize every scrumptious detail. You control the ingredients, making it as decadent or as light as you want. Using high-quality ice cream is crucial, and you can even experiment with unique flavors to surprise your taste buds! Whether you prefer classic vanilla, chocolate fudge, or something more adventurous like salted caramel, the choice is yours. The best part? You can also keep an eye on the sweetness levels, which is ideal for those of us looking to cut back on sugar.
According to a study by the National Dairy Council, enjoying ice cream occasionally can boost your mood thanks to its natural sweetness. Why not make that experience even more special with your own homemade choco tacos? Not to mention, this is a fun project to tackle alone or a delightful way to engage family and friends in the kitchen.
You’ll need just a few ingredients, many of which you probably already have on hand. The main components include taco-shaped waffle cones, ice cream (your favorite flavor), chocolate, and toppings like chopped nuts or sprinkles. Once you set everything up, the process is simple and almost therapeutic—dip those taco shells in melted chocolate, fill them with ice cream, and then freeze.
Moreover, the joy of creating these treats is often as satisfying as eating them! You’ll find encouragement and tips on sites like Serious Eats or Bon Appétit that can guide you on how to perfect your homemade choco tacos. So roll up your sleeves, and let’s dive into this delightful culinary adventure together!
Ingredients for Homemade Choco Tacos
Creating your own homemade choco tacos is an exciting and rewarding endeavor. Here’s your essential ingredient list to get started!
Ice Cream Base Ingredients
- 2 cups of heavy cream: Creamy and rich, essential for a smooth texture.
- 1 cup of milk: Whole milk is best for that extra creaminess.
- 3/4 cup of granulated sugar: This will add just the right sweetness.
- 1 teaspoon of vanilla extract: Imparts a delightful flavor.
- A pinch of salt: Balances the sweetness perfectly.
Fudge Ripple Ingredients
- 1 cup of semi-sweet chocolate chips: For a luscious fudge.
- 1/4 cup of heavy cream: Makes your fudge silky smooth.
- 1 tablespoon of butter: Adds richness and shine.
Waffle Cone Ingredients
- 1 cup of all-purpose flour: The base for your taco shell.
- 2 tablespoons of sugar: Sweetness in your waffle cones.
- 1/2 teaspoon of baking powder: Helps your cones puff up.
- 1/4 cup of melted butter: For that delectable buttery taste.
- 1/4 cup of water: To achieve the right batter consistency.
Coating Ingredients
- 1 cup of semi-sweet chocolate chips: To coat the taco shells.
- 1 tablespoon of coconut oil: Gives the coating a smooth finish.
- Chopped nuts or sprinkles (optional): For added crunch and fun.
With these ingredients on hand, you’re well on your way to creating delicious homemade choco tacos that will impress your friends! If you’re looking for more inspiration, check out this ice cream making guide for tips on perfecting your base. Happy cooking!
Step-by-Step Preparation of Homemade Choco Tacos
Making homemade choco tacos is a fun activity that can thrill anyone, especially those who love sweet treats. This delicious dessert combines the satisfying crunch of a taco shell with creamy ice cream and rich chocolate, making it perfect for warm days or simply as a delightful indulgence. Let’s jump into the steps for preparing these delectable bites from scratch!
Prepare the Fudge Sauce
First up on our homemade choco tacos adventure is the fudge sauce. This rich, chocolatey component is essential for that authentic flavor.
Ingredients:
- 1 cup of semisweet chocolate chips
- 1/2 cup of heavy cream
- 1/4 cup of corn syrup
- A pinch of salt
Instructions:
- In a saucepan over low heat, combine the chocolate chips, heavy cream, corn syrup, and salt.
- Stir continuously until the chocolate is completely melted and the mixture is smooth and glossy.
- Allow it to cool to room temperature and then refrigerate while you prepare the other components.
This fudge sauce not only adds flavor but also a visual appeal when drizzled over your assembled tacos.
Make the Ice Cream Base
Next, let’s create a creamy ice cream base. You can use store-bought or make your own!
Ingredients for homemade ice cream:
- 2 cups of heavy cream
- 1 cup of whole milk
- 3/4 cup of granulated sugar
- 1 tablespoon of vanilla extract
Instructions:
- In a mixing bowl, whisk together heavy cream, whole milk, sugar, and vanilla until the sugar dissolves.
- Pour the mixture into an ice cream maker and churn according to the manufacturer’s instructions.
- If you don’t have an ice cream maker, pour the mixture into a shallow dish and freeze, stirring every 30 minutes until creamy.
The homemade ice cream will provide a fresh taste, elevating your homemade choco tacos to a whole new level.
Layer the Ice Cream
Once your ice cream is ready, it’s time to layer it into taco shapes.
- Using a large spoon, scoop the ice cream into a shallow tray.
- Spread it out evenly and use a spatula to create a flat surface. Allow it to freeze for about 30 minutes until set.
Once firm, you can begin cutting the ice cream into taco shapes. Play around with the size, but keep them bite-sized!
Create the Waffle Cones
Now, let’s turn our attention to the taco shell. A waffle cone recipe adds a fun twist to the traditional taco.
Ingredients:
- 1 cup of all-purpose flour
- 1/4 cup of sugar
- 1/4 cup of melted butter
- 1/2 cup of milk
- 1 teaspoon of vanilla extract
Instructions:
- Preheat your waffle maker and brush it lightly with oil.
- Whisk together the flour, sugar, melted butter, milk, and vanilla until smooth.
- Pour the batter into the waffle maker and cook until golden brown.
While the waffle is still warm, shape it into a taco shell. Secure it with a paper towel or spatula until it cools and holds its shape.
Scoop Ice Cream into the Taco Shells
With your shells ready, it’s time to fill them!
- Use a scooper or spoon to fill each waffle shell with your prepared homemade ice cream.
- Pack it gently but full to the brim—after all, who doesn’t love extra ice cream?
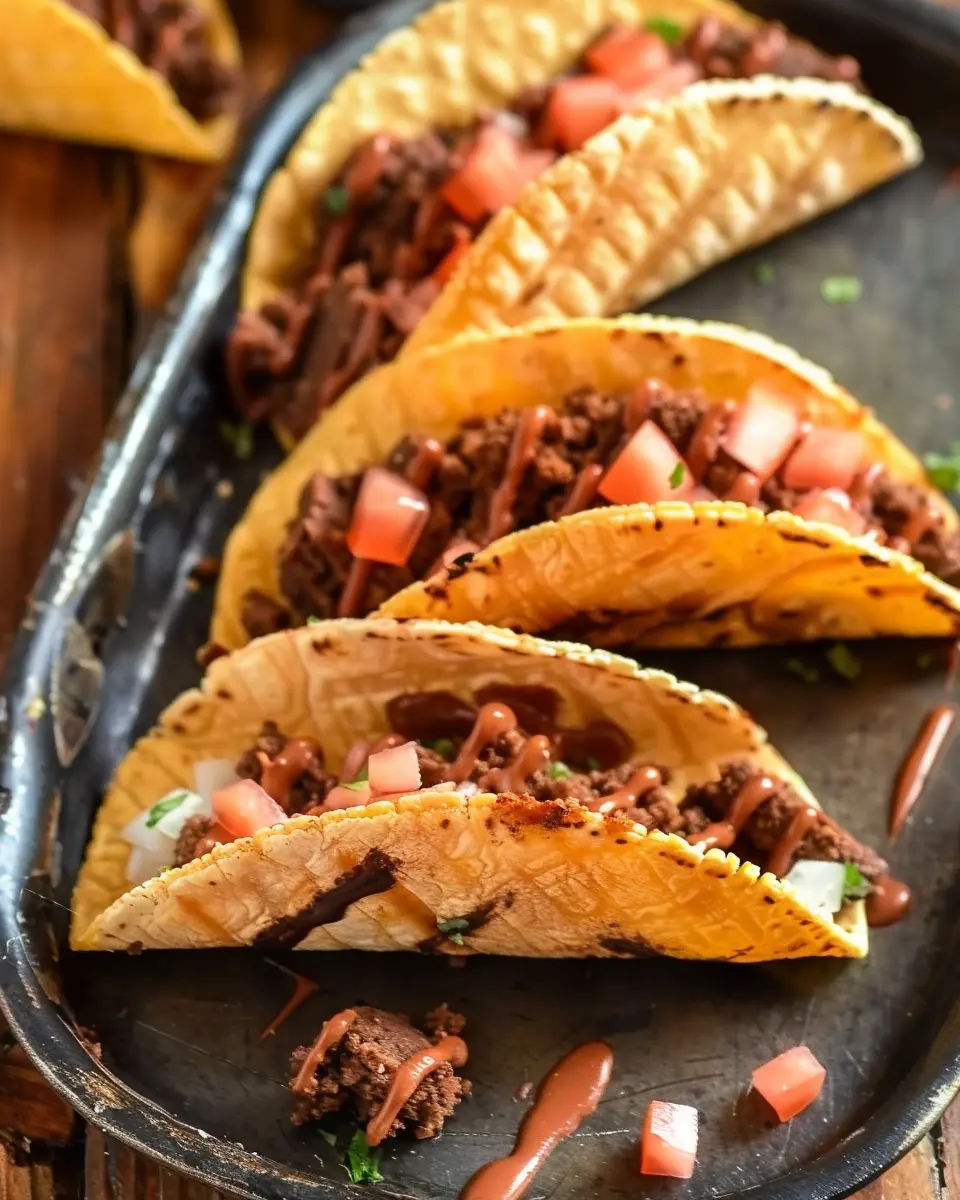
Prepare the Chocolate-Peanut Coating
Next, let’s create a chocolate-peanut coating to give our tacos that extra crunch.
Ingredients:
- 1 cup of chopped peanuts
- 1/2 cup of semisweet chocolate chips
Instructions:
- Melt the chocolate chips in a microwave-safe bowl or over a double boiler.
- Dip the top of each filled taco into the melted chocolate, then into the chopped peanuts, letting excess chocolate drip off.
This adds an exciting texture that perfectly complements the smooth ice cream!
Assemble and Freeze
Finally, let’s put it all together.
- Place the assembled tacos back in the freezer for at least 1 hour to firm up.
- Before serving, drizzle with the fudge sauce you prepared earlier.
Enjoy every bite of these homemade choco tacos—they’re sure to impress friends and family alike! If you’re eager for a sweet complement to your dinner, try pairing these with a refreshing fruit salad.
If you’re looking for more dessert ideas, check out sources like The Food Network for inspiration galore!
Variations on Homemade Choco Tacos
Dairy-Free Version
Want a delicious dairy-free twist on your homemade choco tacos? Replace the traditional ice cream with your favorite non-dairy alternative, such as coconut, almond, or cashew-based ice cream. These options not only taste fantastic but can also provide a creamy texture that rivals regular ice cream. For the taco shell, you might try using coconut oil or margarine instead of butter in the recipe.
Flavor Variations for Ice Cream
The fun doesn’t stop at chocolate ice cream! Experimenting with different ice cream flavors can elevate your homemade choco tacos to extraordinary levels. Here are some ideas:
- Mint Chocolate Chip: For a refreshing take, fill your tacos with mint chocolate chip ice cream and drizzle with dark chocolate.
- Coffee: How about a morning boost? Use coffee-flavored ice cream for a delightful twist.
- Strawberry: If you’re in the mood for something fruity, strawberry ice cream combined with chocolate shells creates a vibrant contrast that’s hard to resist.
Want other flavor inspiration? Check out this comprehensive guide on artisan ice cream flavors to spark your creativity!
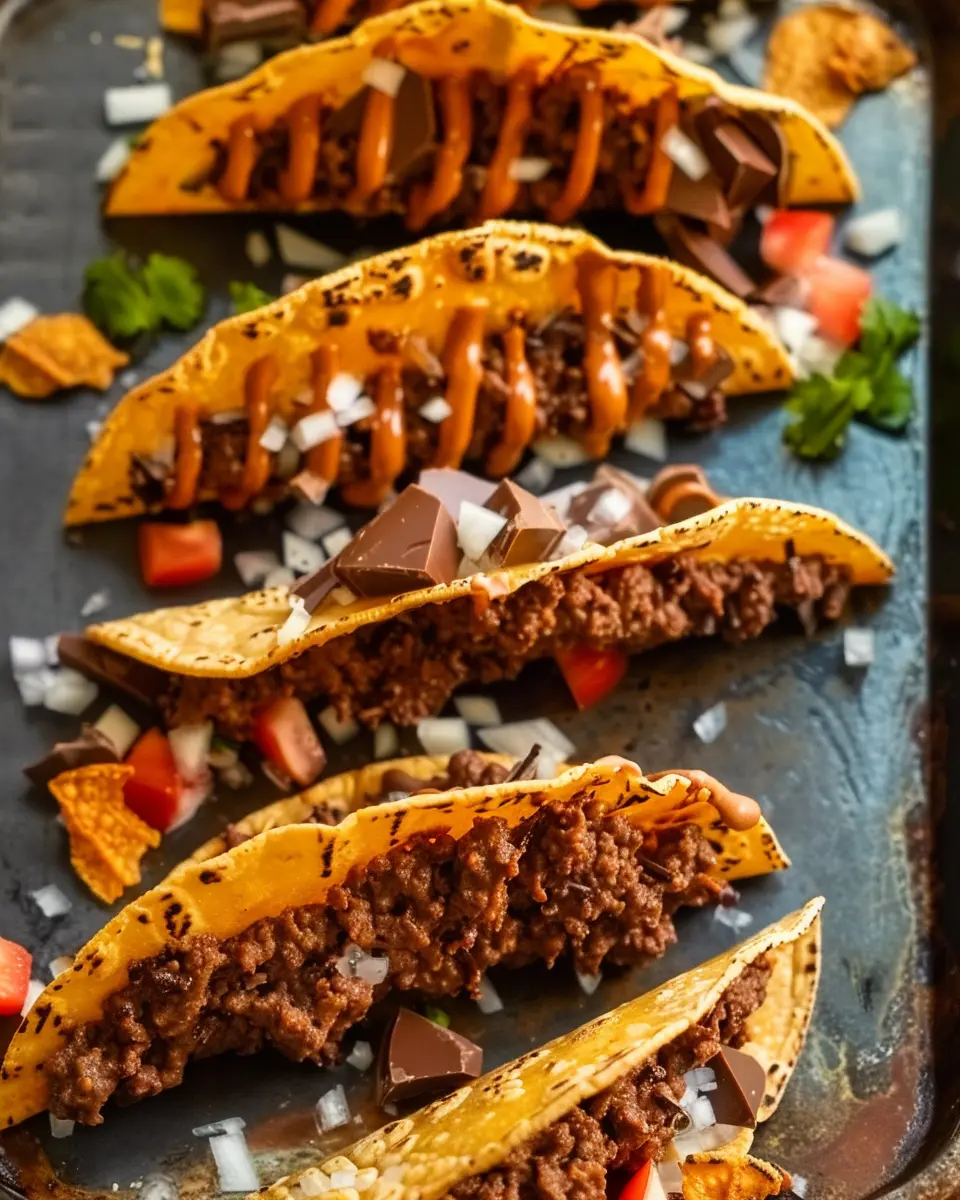
Alternative Toppings
Don’t forget the toppings! Personalizing your homemade choco tacos is part of the joy. Instead of the classic sprinkles, consider:
- Crushed Nuts: Almonds or hazelnuts for a crunchy texture.
- Chopped Fresh Fruit: Slices of banana or berries can add a refreshing burst.
- Drizzles of Caramel or Nutella: For that extra decadence, a drizzle of caramel or nut spread takes it to another level.
Let your imagination run wild — the world of toppings is endless! With these variations, your homemade choco tacos are sure to become the hit of any gathering. Enjoy every bite!
Cooking Tips and Notes for Homemade Choco Tacos
Tips for Perfect Waffle Cones
Creating the ideal waffle cone is key to your homemade choco tacos. Here are some tips:
- Temperature Matters: Make sure your iron is preheated. A hot iron will give you a crispy texture.
- Even Shape: Pour a consistent amount of batter; too much leads to thicker cones that may not hold their shape.
- Quick Fold: Fold the cone immediately after cooking. The warm waffle is malleable, making it easier to shape before it cools.
If you’re looking for an extra crispy texture, consider checking out an expert guide on waffle cone techniques here.
Storing Your Choco Tacos
Once you’ve assembled your homemade choco tacos, it’s important to store them properly to maintain freshness:
- Refrigerate: Place them in an airtight container in the fridge for up to one week. Just remember, the longer they sit, the softer the cone will become.
- Freezing Option: If you want to enjoy your treats later, freeze them individually wrapped in plastic wrap, then place them in a container. They can last for about a month!
Keeping them fresh ensures every bite is as delightful as the first. Enjoy your homemade choco tacos with confidence!
Serving Suggestions for Homemade Choco Tacos
Creative Ways to Serve
When it comes to serving your homemade choco tacos, the sky’s the limit! Consider presenting them on a colorful platter, garnished with fresh berries or a sprinkle of crushed nuts for added texture. You could drizzle some caramel or raspberry sauce on top to elevate the visual appeal. For a fun twist, serve them in pairs, allowing guests to customize their own toppings—think whipped cream, sprinkles, or even a dash of sea salt for that sweet-savory balance.
Pairing with Beverages
Finding the perfect drink to accompany your homemade choco tacos can enhance the whole experience. Try pairing them with a cold glass of homemade lemonade or an iced coffee for a refreshing contrast. If you’re feeling adventurous, a rich hot chocolate can create a delightful chocolate overload. Alternatively, consider some herbal tea options, like peppermint or chamomile, which provide a soothing complement. Including these drink options not only impresses your guests but also helps create a more enjoyable and memorable dessert experience.
Feeling inspired? You can check out more fun serving ideas on The Spruce Eats to keep your dessert game strong!
Time Breakdown for Homemade Choco Tacos
Preparation Time
Crafting your homemade choco tacos is a delightful experience that takes about 30 minutes. This includes mixing your ingredients, preparing the taco shells, and creating that luscious filling. Don’t rush through this—taking your time will lead to a much tastier result!
Freeze Time
Patience is key when it comes to freezing your taco creations. After assembly, you’ll want to let them chill in the freezer for approximately 2 hours. This helps the flavors meld beautifully and ensures that each bite is a cold, chocolatey delight.
Total Time
In total, you’re looking at around 2.5 hours from start to finish, including both preparation and freezing time. So set aside a leisurely afternoon to whip up these sweet treats. With each bite, you’ll find that the time spent is totally worth it!
For a handy step-by-step, you can explore trusted recipes here.
Nutritional Facts for Homemade Choco Tacos
When indulging in homemade choco tacos, it’s great to know what you’re getting in terms of nutrition. Here’s a quick breakdown of the key nutritional facts:
Calories
A single homemade choco taco usually contains around 250-300 calories, depending on the ingredients and portion sizes. This makes it a delightful treat that balances indulgence and moderation.
Protein
You can expect about 3-5 grams of protein per taco. Ingredients like nut butter or yogurt can enhance protein content while adding delicious flavors.
Sugar
While delicious, these tacos do pack a sugary punch, with approximately 15-20 grams of sugar. Consider using natural sweeteners or reducing sugar for a healthier version.
For more on the benefits of mindful eating, check out Healthline’s guide on sugar intake to stay informed and make healthier choices. Enjoy your tasty adventures!
FAQ about Homemade Choco Tacos
Can I use store-bought ice cream?
Absolutely! Using store-bought ice cream is a quick and convenient option for your homemade choco tacos. Whether you prefer classic vanilla, rich chocolate, or a fruity flavor, the choice is yours. Just make sure the ice cream is slightly softened before assembling to make scooping easier. If you’re feeling adventurous, consider mixing in some fun toppings, like sprinkles or nuts, into your store-bought ice cream for a unique twist.
How do I ensure my waffle cones turn out crispy?
Achieving that perfect crispy texture for your waffle cones can be a game changer. Here are a few tips:
- Proper Temperature: Make sure your waffle cone maker is fully preheated. This ensures they cook evenly and don’t become soggy.
- Thin Batter Layer: Spread a thin layer of batter when you’re pouring it onto the maker. A thicker layer may take longer to crisp up.
- Cool Completely: Let your cones cool completely before filling them. If you fill them while they’re warm, they can become mushy.
For more tips on waffle cone perfection, check out this guide.
What’s the best way to store leftovers?
If you happen to have leftover homemade choco tacos, storing them correctly is key to keeping them tasty. Wrap each taco in plastic wrap or place them in an airtight container. For longer storage, consider placing them in the freezer, where they can last up to a month. Just make sure to add a layer of parchment paper between tacos to prevent sticking. When you’re ready to enjoy them again, let them sit at room temperature for a few minutes before indulging for the best texture.
Making homemade choco tacos is all about finding the right balance—whether you’re turning to store-bought ingredients or experimenting with your recipes, the possibilities are endless!
Conclusion on Homemade Choco Tacos
In wrapping up your homemade choco tacos adventure, it’s clear that creating these delightful treats at home is both fun and rewarding. With a combination of a crispy taco shell, rich chocolate, and your choice of fillings, you’re set to impress friends and family alike.
Whether you opt for crunchy toppings or a drizzle of caramel, the possibilities are endless. Not only do these choco tacos offer a delicious twist on dessert, but they also give you the creative freedom to experiment. So, what are you waiting for? Dive into making your own batch today and enjoy the satisfaction of crafting a unique treat! For extra inspiration, consider checking out sites like Serious Eats for more dessert ideas.
PrintHomemade Choco Tacos: Indulge in This Irresistible Treat

Delight in the sweet, chocolatey world of homemade choco tacos that are perfect for dessert lovers. This article guides you through making this irresistible treat.
- Prep Time: 15 minutes
- Cook Time: 12 minutes
- Total Time: 30 minutes
- Yield: 4 servings 1x
- Category: Dessert
- Method: Baking
- Cuisine: American
- Diet: Vegetarian
Ingredients
- 1 cup all-purpose flour
- 1/4 cup unsweetened cocoa powder
- 1/2 cup granulated sugar
- 1/2 teaspoon baking powder
- 1/4 teaspoon salt
- 1/4 cup butter, melted
- 1 large egg
- 1 teaspoon vanilla extract
- 1 cup chocolate ice cream
- 1/2 cup chocolate syrup
- 1/2 cup chopped nuts (optional)
Instructions
- Preheat your oven to 350°F (175°C).
- In a bowl, mix together flour, cocoa powder, sugar, baking powder, and salt.
- Add melted butter, egg, and vanilla extract, then mix until smooth.
- Spread batter evenly on a baking sheet and bake for 10-12 minutes.
- Once done, allow the cookies to cool slightly and then cut them into taco shapes.
- Fill each taco shell with chocolate ice cream and drizzle with chocolate syrup.
- Top with chopped nuts if desired and serve immediately.
Notes
- For a fun twist, try adding different types of ice cream flavors.
- Make sure the taco shells are cool before filling to avoid melting the ice cream.
Nutrition
- Serving Size: 1 taco
- Calories: 250
- Sugar: 15g
- Sodium: 150mg
- Fat: 10g
- Saturated Fat: 5g
- Unsaturated Fat: 4g
- Trans Fat: 0g
- Carbohydrates: 35g
- Fiber: 2g
- Protein: 3g
- Cholesterol: 30mg
Keywords: Homemade Choco Tacos, dessert, ice cream tacos